
0
Owner's of the Casio Electronic Keyboard Keyboard gave it a score of 0 out of 5. Here's how the scores stacked up:

Using the Pattern Sequencer
E-118
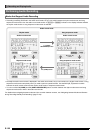
■BreakPoint (Break Point)
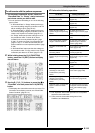
This parameter specifies the key, from C to B, that is the point
at which Auto Accompaniment bass and chord notes drop one
octave.
For example when F is specified as the break point, a C major
chord recorded as C3E3G3 (CEG) becomes D3F
#
3A3 (DF
#
A
raised one note each) when D is fingered on the chord
keyboard, E3G
#
3B3 (EG
#
B raised one note each) when E is
fingered, and F2A2C3 (FAC dropped one octave) when F is
fingered.
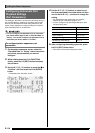
■Invert (Inversion)
This parameter specifies whether or not chords during Auto
Accompaniment play should mirror inverted forms of the
original chord (EGC and GCE for CEG).
For example, let’s say that the original recorded C major
chord is CEG and an F chord is fingered on the chord
keyboard. If “oFF” is selected for this setting, the chord will be
directly converted to FAC. If “on” (or “7th”) is selected, the
chord will be converted to CFA, which is the inverted form that
is nearest to CEG. The transition of chord notes during
playback when “on” (or “7th”) is selected is smaller, so
accompaniment sounds more natural.
Note that you should select “7th” in place of “on” only if “C7”
was specified for the “PlayChord” setting when recording the
accompaniment pattern and if you selected “09 (Chord 7th)”
for the chord conversion table.
* “PlayChord” is a rec menu setting. For details, see “To
configure pattern rec settings (Rec Menu)” (page E-106).
• When selecting “on” (or “7th”) for this setting, make sure
that you select “C” for the “BreakPoint” (Break Point)
setting.
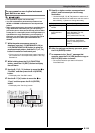
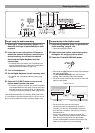
■Retrigger (Retrigger)
This parameter specifies how accompaniment pattern play is
affected by a chord change that occurs part way through a
pattern.
When “on” is selected, the pattern “retriggers,” which causes
the currently playing note to change to the corresponding note
of the newly fingered chord. When “oFF” is selected, a chord
change causes the currently sounding note to be cut off, and
the next note of the pattern of the newly fingered chord to be
played.
■BendRange (Bend Range)
This parameter specifies the bend range for pitch bender
operation in semitone steps
1.
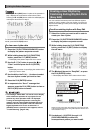
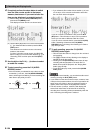
While the pattern sequencer screen is
displayed, use buttons L-12 (INTRO) through
L-15 (SYNCHRO/ENDING) to select the
accompaniment pattern you want.
• The rec areas of the instrument parts included in the
accompaniment pattern you select here are the ones
that can be cleared by this procedure.
• If you select an INTRO or ENDING, the following steps
can be performed only when all parts are in rec areas
(“Recorded Data” or “Empty” part status).
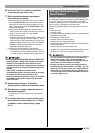
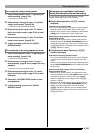
2.
While holding down the R-13 (FUNCTION)
button, press the C-5 (EDIT) button to display
the edit menu.
3.
Use the R-17 (t, y) buttons to move the 0 to
“PartEdit” and then press the R-16 (ENTER)
button.
• This displays the “Part Edit” screen.
4.
The 0 should be next to “Clear”, so press the
R-16 (ENTER) button.
• This displays the “Clear Part” screen.
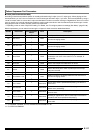
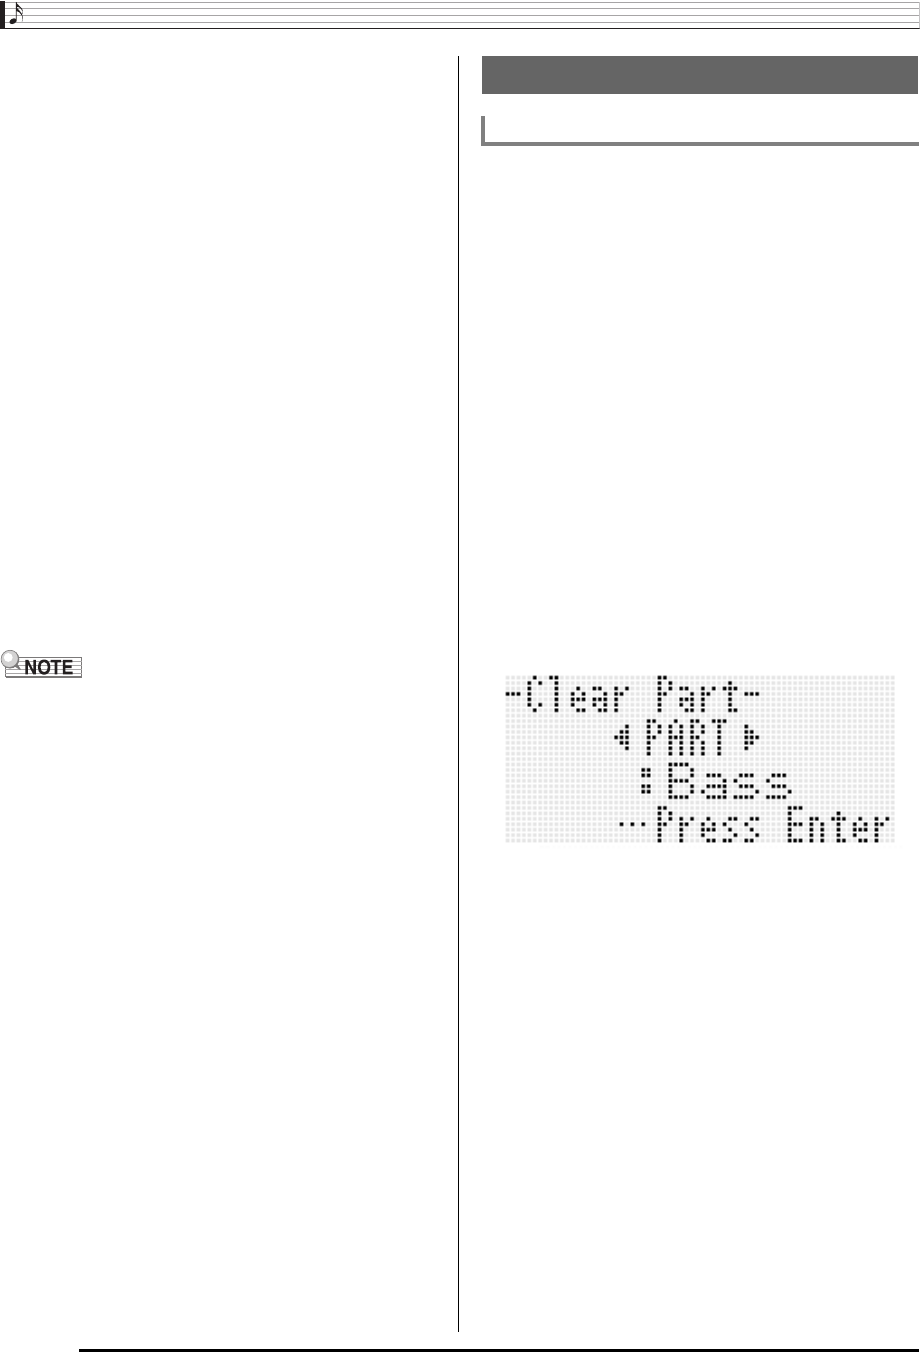
5.
Use the R-17 (u, i) buttons to specify the
instrument part you want to clear from the rec
area then press the R-16 (ENTER) button.
6.
In response to the “Sure?” message that
appears, press the R-14 (YES) button to clear or
the R-14 (NO) button to cancel.
• Pressing the R-14 (YES) button changes the status of
the instrument part you specified in step 5 to “Empty”.
Instrument Part Operations
To clear a rec area of an instrument part


Find Your Products By Category
Please Login
