
0
Owner's of the Pioneer DJ Equipment Pioneer DJ Equipment gave it a score of 0 out of 5. Here's how the scores stacked up:
2
================================
For Windows Users
When updating Virtual DJ on Windows PC, the current Virtual DJ is
required to be uninstalled. Follow the instructions below to un-
install it.
When first installed on your computer, proceed to step 2.
1. From the Windows [Start] menu, click the [All Pro-
grams]>[VirtualDJ]>[ Uninstall VirtualDJ LE (XDJ-R1)] icon.
— For Windows 8, click the [Uninstall VirtualDJ LE] tile on the Start
screen.
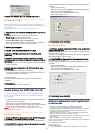
Click “Yes” when Windows Installer dialogue appears.
The VIRTUAL DJ LE uninstaller is launched.
The following message appears. If you want to retain the settings
information, click “No” and if you want to remove it click “Yes”.
This completes the uninstallation procedure.
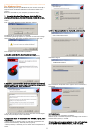
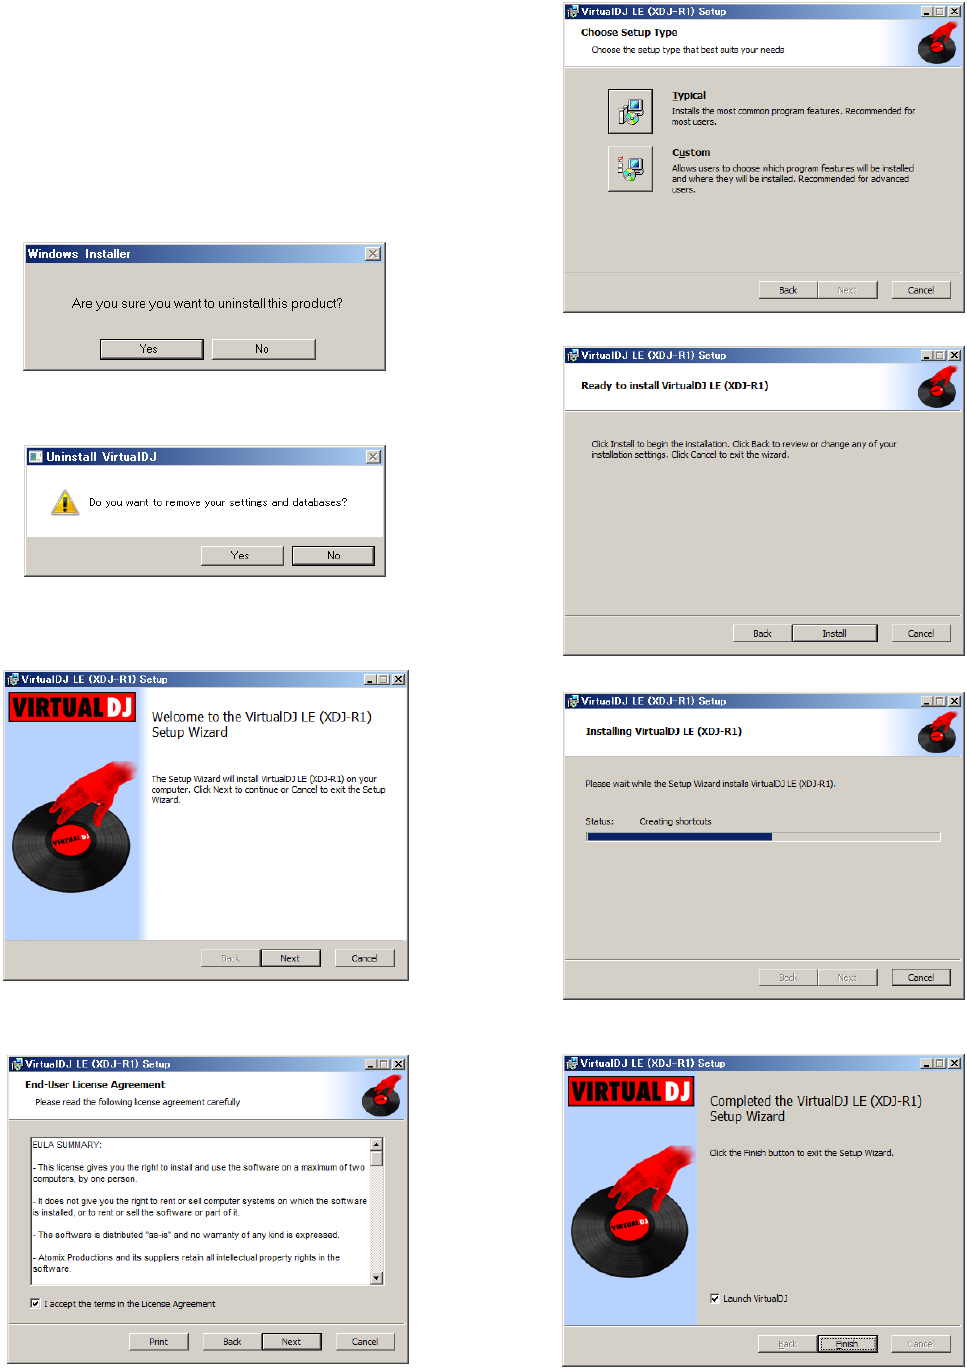
2. Double-click the file downloaded to install.
Once the VIRTUAL DJ LE installer is launched, click [Next].
3. Read the contents of the [End-User License Agreement]
carefully, and if you agree, check [I accept the terms in the
License Agreement], then click [Next].
― If you do not agree to the terms of the [End-User License Agree-
ment], click [Cancel] to cancel installation.
4. Select the type of installation for VIRTUAL DJ LE, then
click [Next].
— When [Typical] is selected, plug-ins and other components are
installed simultaneously. Normally select [Typical].
— When [Custom] is selected, you can select which components to
install.
5. When the screen below is displayed, click [Install].
Installation begins.
The installation completed screen appears once installation is
completed.
6. Click [Finish].
This completes the installation procedure.
VIRTUAL DJ LE is launched if [Launch VirtualDJ] on the screen is
checked when [Finish] is clicked.
7. Enter the serial number printed on this unit’s bottom
panel (XXXX-XXXX-XXXXX/XDJR1), then click [OK].


Find Your Products By Category
Please Login
