
0
Owner's of the Shure Headphones SHURE gave it a score of 0 out of 5. Here's how the scores stacked up:


6
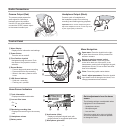
Record: Press the record
button to begin recording. The
LED indicator illuminates while
recording. Pressing record
always creates a new track,
unless resuming a paused
recording.
Pause: Press the record button
to pause the recording. The
LED flashes while recording is
paused. Press record again to
resume.
Stop: Press and hold the record
button (2 seconds).
Headphone and Camera Output Volume
Headphone Volume: Accessible in the menu by selecting
HEADPHONE, or in the playback, recording, and home screens by
selecting the headphone icon and pressing the joystick up or down.
Camera Output Volume: Accessible in the menu by selecting
UTILITIES > CAMERA OUT. Level is selectable (LOW, MEDIUM, or HIGH)
to accommodate different camera preamp sensitivities.
Note: Always set the gain to the appropriate level prior to adjusting the
headphone or camera output volume.
Low-Cut Filter
Rolls off low frequencies 170 Hz and below (12 dB per octave) in
order to reduce low frequency rumble caused by camera handling
and other environmental factors. A custom Rycote
®
Windjammer
(A83-FUR) can be used to further reduce wind noise.
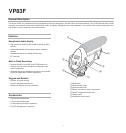
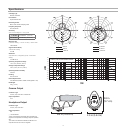
Recording Audio
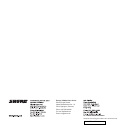
Audio Path
The following diagram shows how audio flows through the device:
Gain
Low-cut Filter
Recording to Memory Card
Camera Out Level
Camera
Output
Headphone Volume
Headphone
Output
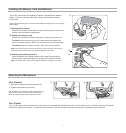
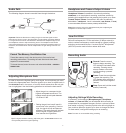
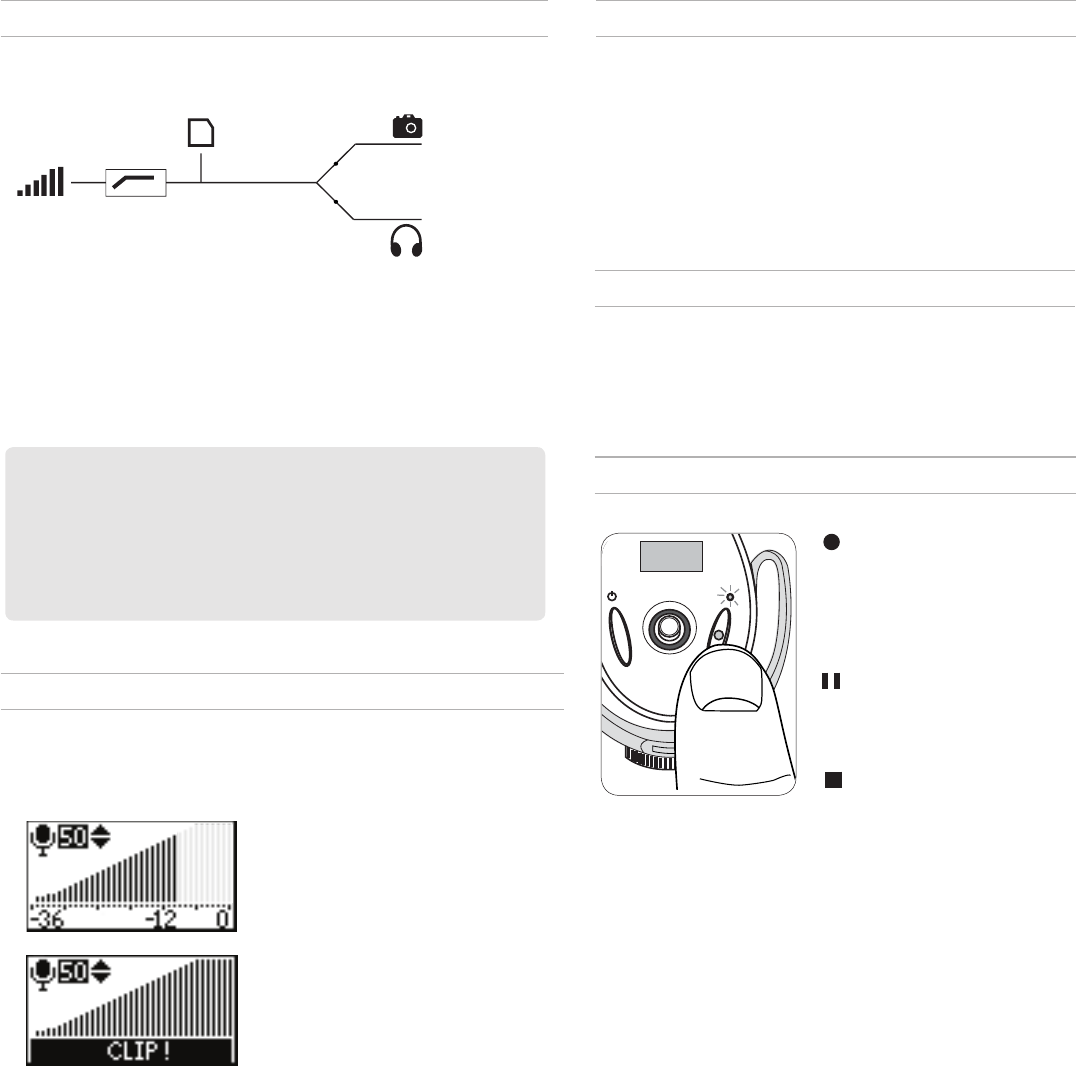
Adjusting Microphone Gain
In order to capture the highest quality audio signal, the microphone gain must
be set at the appropriate level. Press the joystick up or down to adjust levels in
the MIC GAIN screen in the menu, or from the home screen when the mic gain
icon is highlighted. Use the following guidelines to achieve the best results:
• Setting the gain too low will result in
more noise in the recording. If set too
high, the signal will clip and become
distorted. The audio meter will indicate
that the signal is clipping when the
level reaches the highest bar.
• Adjust the gain to correspond to the
highest anticipated sound level. The
loudest sounds should peak between
-12 dB and -6 dB.
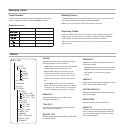
Adjusting Settings While Recording
If necessary, audio settings (Microphone gain, Headphone
volume, and Low-cut filter) can be adjusted while recording to
compensate for unexpected changes, such as a volume increase
that results in clipping. Press the joystick to the left to highlight an
item, and then press the joystick up or down to change the value.
For best results, configure all settings prior to recording.
Note: The menu is not accessible during recording.
Format The Memory Card Before Use
Format the memory card in the device prior to first use for best
recording performance. Formatting the card after tracks have been
exported is recommended.
To format the card, enter the menu and select UTILITIES > SD CARD >
FORMAT CARD.
Tip: For higher resolution metering, adjust the gain in the MIC GAIN screen to see
more precisely where the signal is peaking.
Important: Follow the directions on setting the gain for the best signal-to-noise
performance. Since it is first in the signal path, the gain affects everything following
it. The gain should never be used to boost or attenuate the headphone signal; use
the headphone volume to adjust monitoring levels. The headphone and camera
output level adjustments occur after the signal has reached the recording section of
the device, and should not be used to compensate if the gain setting is too low or is
clipping.


Find Your Products By Category
Please Login
