

0
Owner's of the Tascam CD Player CD Player/Bluetooth Receiver gave it a score of 0 out of 5. Here's how the scores stacked up:

26
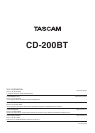
TASCAM CD-200BT
5 – Bluetooth device playback
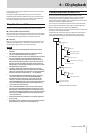
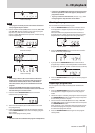
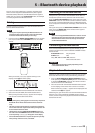
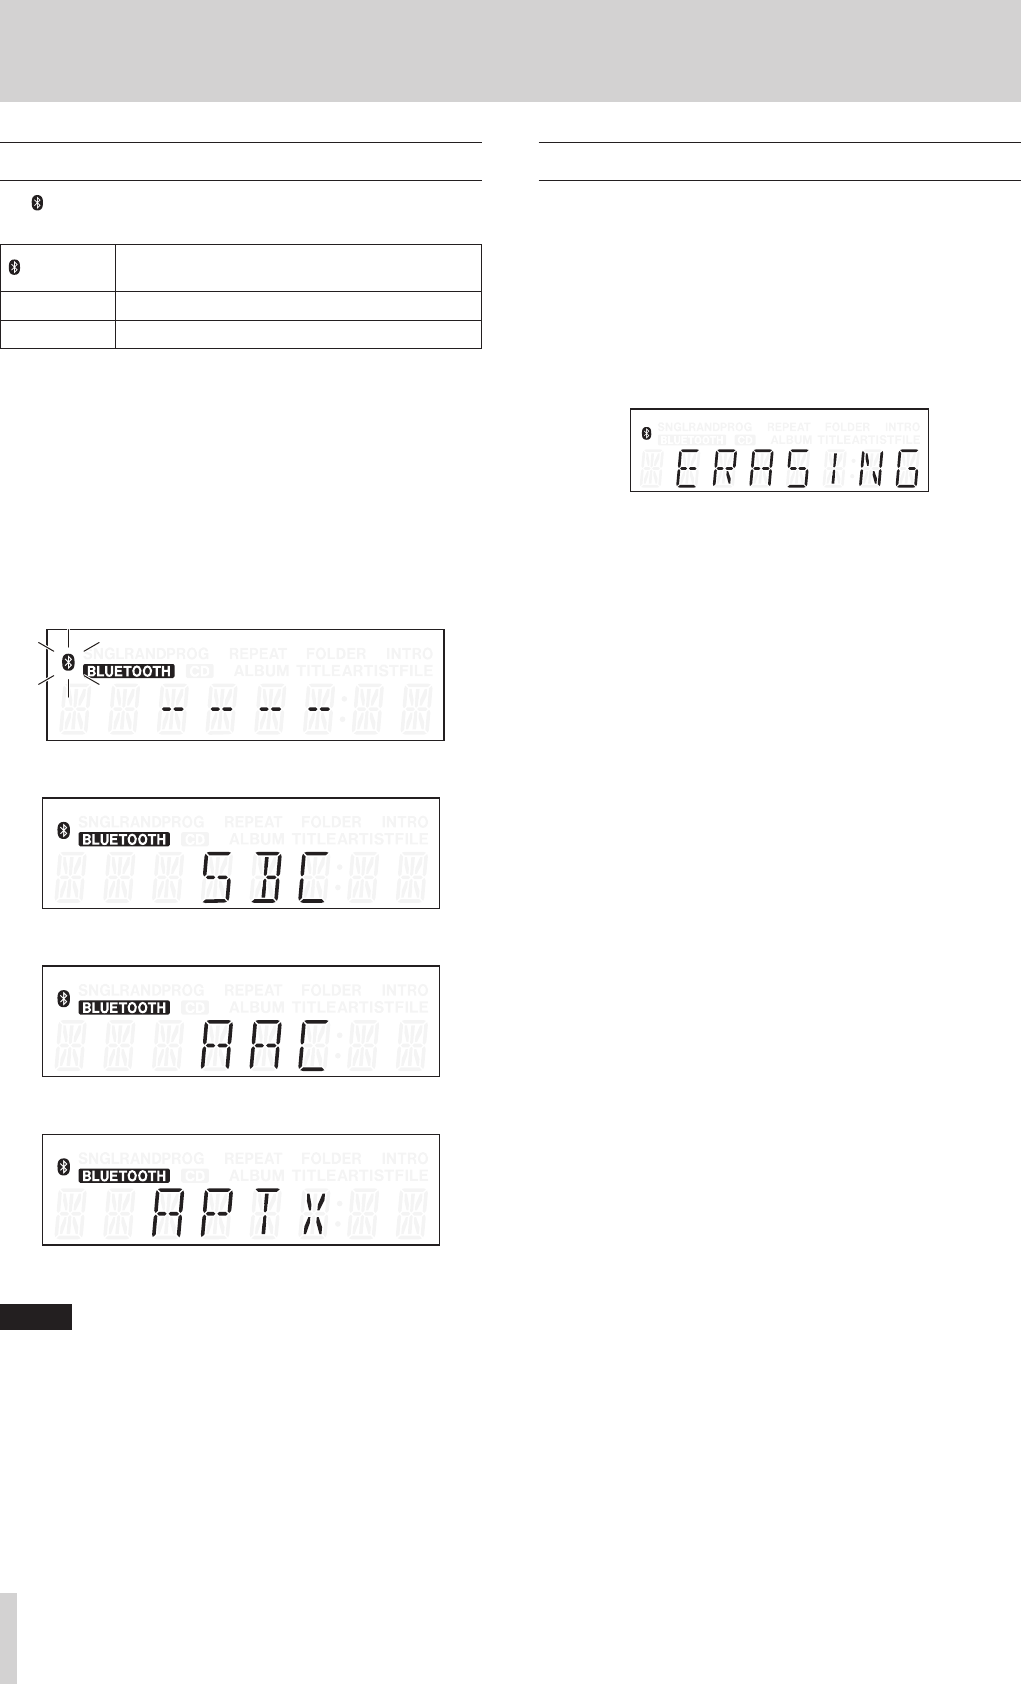
Bluetooth information display
The icon on the display shows the connection status of the
Bluetooth device.
icon status Connection status
Blinking Not connected (searching for Bluetooth device)
Not blinking Connected with Bluetooth device
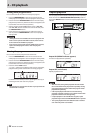
When the current source is Bluetooth, you can select the infor-
mation shown on the display (name of connected device or
connected (A2DP) codec.
Press the DISPLAY [SHIFT] button on the main unit or the
DISPLAY button on the remote control to show the type of
information currently selected in the main display area for two
seconds.
During this time, press the DISPLAY [SHIFT] button on the main
unit or the DISPLAY button on the remote control again to
change the type of information shown.
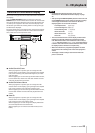
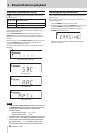
The A2DP codec used for connection is displayed as one of the
following.
Not connected (searching)
SBC codec used
AAC codec used
aptX codec used
NOTE
•
After pressing the DISPLAY [SHIFT] button on the main unit
or the DISPLAY button on the remote control, the currently
selected type of display information is shown for two
seconds as follows.
Connected device name:
DEV NAME
Connected A2DP codec:
CODEC
•
If the name of the connected device contains characters that
cannot be shown,
_
will appear in place of those characters.
•
If pairing has not been conducted (or pairing information
has been deleted),
NO PAIR
will appear in place of the
connected device name and the connected A2DP codec.
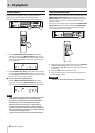
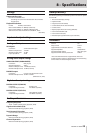
Deleting pairing information
Use the following procedures to delete all pairing information
from this unit.
If you delete pairing information, connection with Bluetooth
devices will not occur.
1. Press the POWER switch to turn the unit off.
2. While pressing and holding the PAIRING button on the unit,
press the POWER switch again to turn the unit on.
When
ERASING
appears on the display, release the
PAIRING button on the unit.
After the pairing information is deleted, the unit begins
operation as normal.


Find Your Products By Category
Please Login
