
0
Owner's of the Tascam Marine Radio US-1200 6x2 USB Audio Interface gave it a score of 0 out of 5. Here's how the scores stacked up:

TASCAM US-1200
27
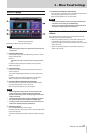
6 – Application Guide
Windows 8 and Windows Media Player
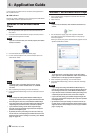
1. Quit all applications and right-click the Start screen and then
click the “All apps” button that is at the bottom right of the
screen to open the Apps screen.
NOTE
In Windows 8.1, click the x icon that appears at the bottom
right of the start screen.
2. Click “Control Panel”.
NOTE
You can also open the Control Panel by clicking the Control
Panel item in the menu that appears if you right-click the
bottom left corner of the desktop.
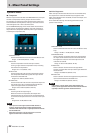
3. After clicking “Hardware and Sound", open the Sound screen.
4. On the “Playback” page, right-click “Speakers TASCAM
US-1200”, and click “Set as Default Device” in the pop-up
menu that appears.
When you do this, the green check mark (4) appears next to
“Speakers TASCAM US-1200”.
NOTE
To use this unit as a recording device, on the “Recording”
page, right-click “Line in TASCAM US-1200” and click “Set as
Default Device” in the pop-up menu that appears.
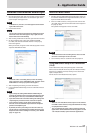
5. After completing the setting, click the “OK” button.
6. Launch Windows Media Player, select an audio file and start
playback.
NOTE
•
If you change the setting while Windows Media Player is
running, the software will not recognize that the device has
been changed. In this case, restart Windows Media Player.
•
If you still cannot hear sound after making the settings and
completing the procedures above, restart the computer.
•
If you make this setting, sound will be output through
this unit, but no sound will be output from the computer’s
speakers or headphone jack.
•
By default, the mixer pan settings are set to the center (C).
For this reason, sounds playing back will be heard as mono.
Adjust the built-in mixer settings as necessary. (See “MIXER
page” on page 18.)
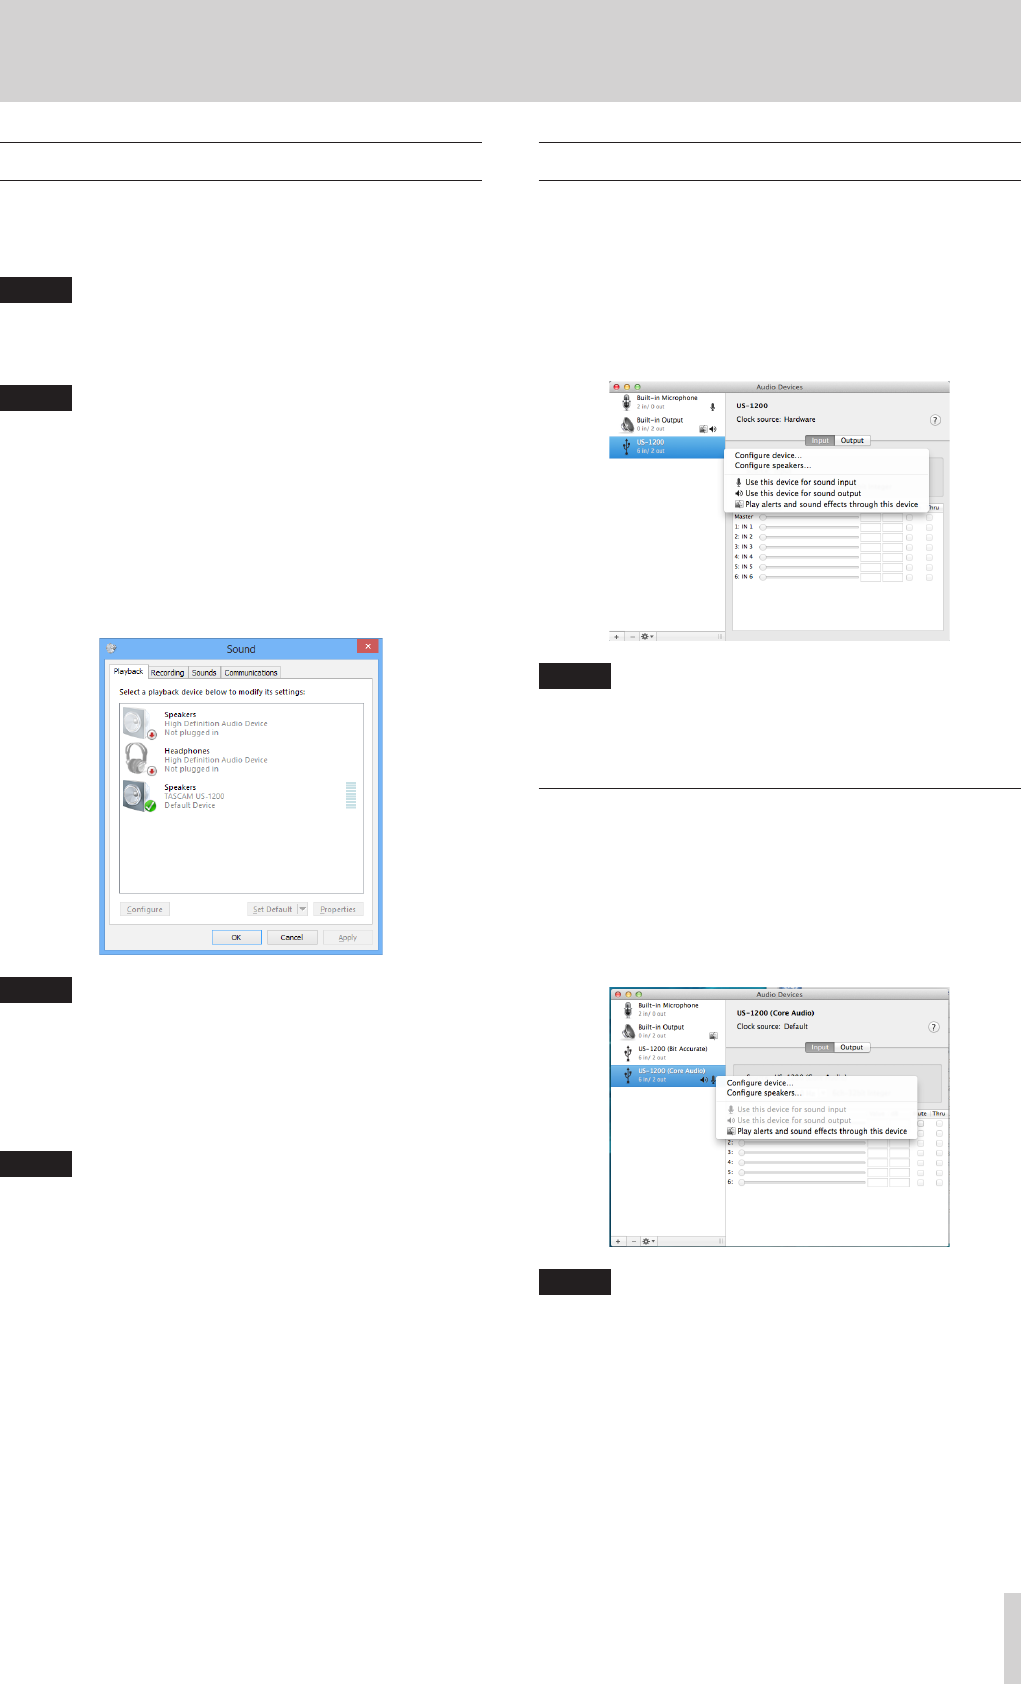
Mac OS X and iTunes
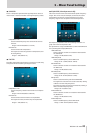
1. Double-click the Audio MIDI Setup application, which is in
the Utilities subfolder of the Applications folder, and then
open the Audio Devices window.
2. Click “US-1200” to select it, and right-click or control-click
“US-1200”. Then, click “Use this device for sound output” in
the pop-up menu.
The speaker mark appears next to “US-1200”.
NOTE
To use this device as the recording device, select “Use this
device for sound input” for the “US-1200”.
3. Launch iTunes, select an audio file and start playback.
Using Audio MIDI setup in OS X Mavericks
(10.9)
In OS X Mavericks (10.9), two options appear in the Audio
Devices list: US-1200 (Bit Accurate) and US-1200 (Core Audio).
Only the “US-1200 (Bit Accurate)” setting can be used as the
input or output device.
Do not use the “US-1200 (Bit Accurate)” option.
NOTE
•
When the “US-1200 (Bit Accurate)” option can be selected
in a DAW or other software, using it should make recording
and playback more stable.
•
The “US-1200 (Bit Accurate)” option cannot be used with
applications downloaded from the Mac App Store. Use the
“US-1200 (Core Audio)” option with such applications.


Find Your Products By Category
Please Login
