
0
Owner's of the Tascam Clock Radio master clock generator gave it a score of 0 out of 5. Here's how the scores stacked up:

24
TASCAM CG-1800/CG-1000
8 – Other functions
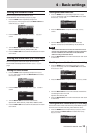
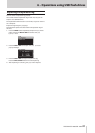
Setting the startup preset
You can set the preset used at startup when this unit is turned
on. Make this setting on the
UTILITY 1
page.
1. Press the MENU button to open the
UTILITY 1
menu
page, and turn the MULTI JOG dial to select the
STARTUP
item.
2. Press the MULTI JOG dial to open the
STARTUP MODE
screen.
3. Turn the MULTI JOG dial to set the preset used at startup.
Option Function
LAST (default) Startup with last used settings
PRESET 1
Startup with the corresponding preset
settings
PRESET 2
PRESET 3
PRESET 4
FACTORY Startup with factory default settings
NOTE
The
STARTUP
item setting cannot be restored to the
factory default.
4. Press the MULTI JOG dial to confirm the selection and return
to the menu.
Calibrating the internal oscillator
The importance of calibration
This unit has an OCXO (oven-controlled crystal oscillator) that
provides 0.01ppm high-precision frequency output. However,
every clock generator, including this one, can normally be
expected to change over time.
In order to enable continued use with high-performance, this
unit has a function for calibrating the internal oscillator.
If you connect and input a 10MHz signal generated from
a GPS signal or a PPS signal, for example, to the dedicated
CALIBRATION INPUT
connector, the unit will recognize it
automatically and calibrate the internal clock.
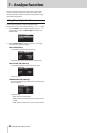
Checking the unit firmware version
Follow these procedures to check this unit’s firmware version.
Do this before updating the firmware, for example.
1. Press the MENU button repeatedly to open the
UTILITY
2
menu page, and turn the MULTI JOG dial to select the
VERSION
item.
2. Press the MULTI JOG dial to open the
VERSION
screen.
The
VERSION
screen shows information about the
firmware version and build number.
3. Press the EXIT/CANCEL button to return to the menu
screen.
NOTE
When the
VERSION
screen is open during step 2 above,
press the MULTI JOG dial to switch to firmware updating.
For the latest information about updating firmware, visit
the TEAC Global Site (http://teac-global.com/).
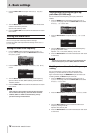
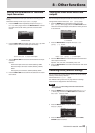
Checking the error log
Follow these procedures to check the error log, which contains
information about past errors.
Check the error log from the
LOG
page.
1. Press the MENU button repeatedly to open the
LOG
page
menu, and turn the MULTI JOG dial to select the
ERROR
LOG
item.
2. Press the MULTI JOG dial to open the
ERROR LOG
screen.
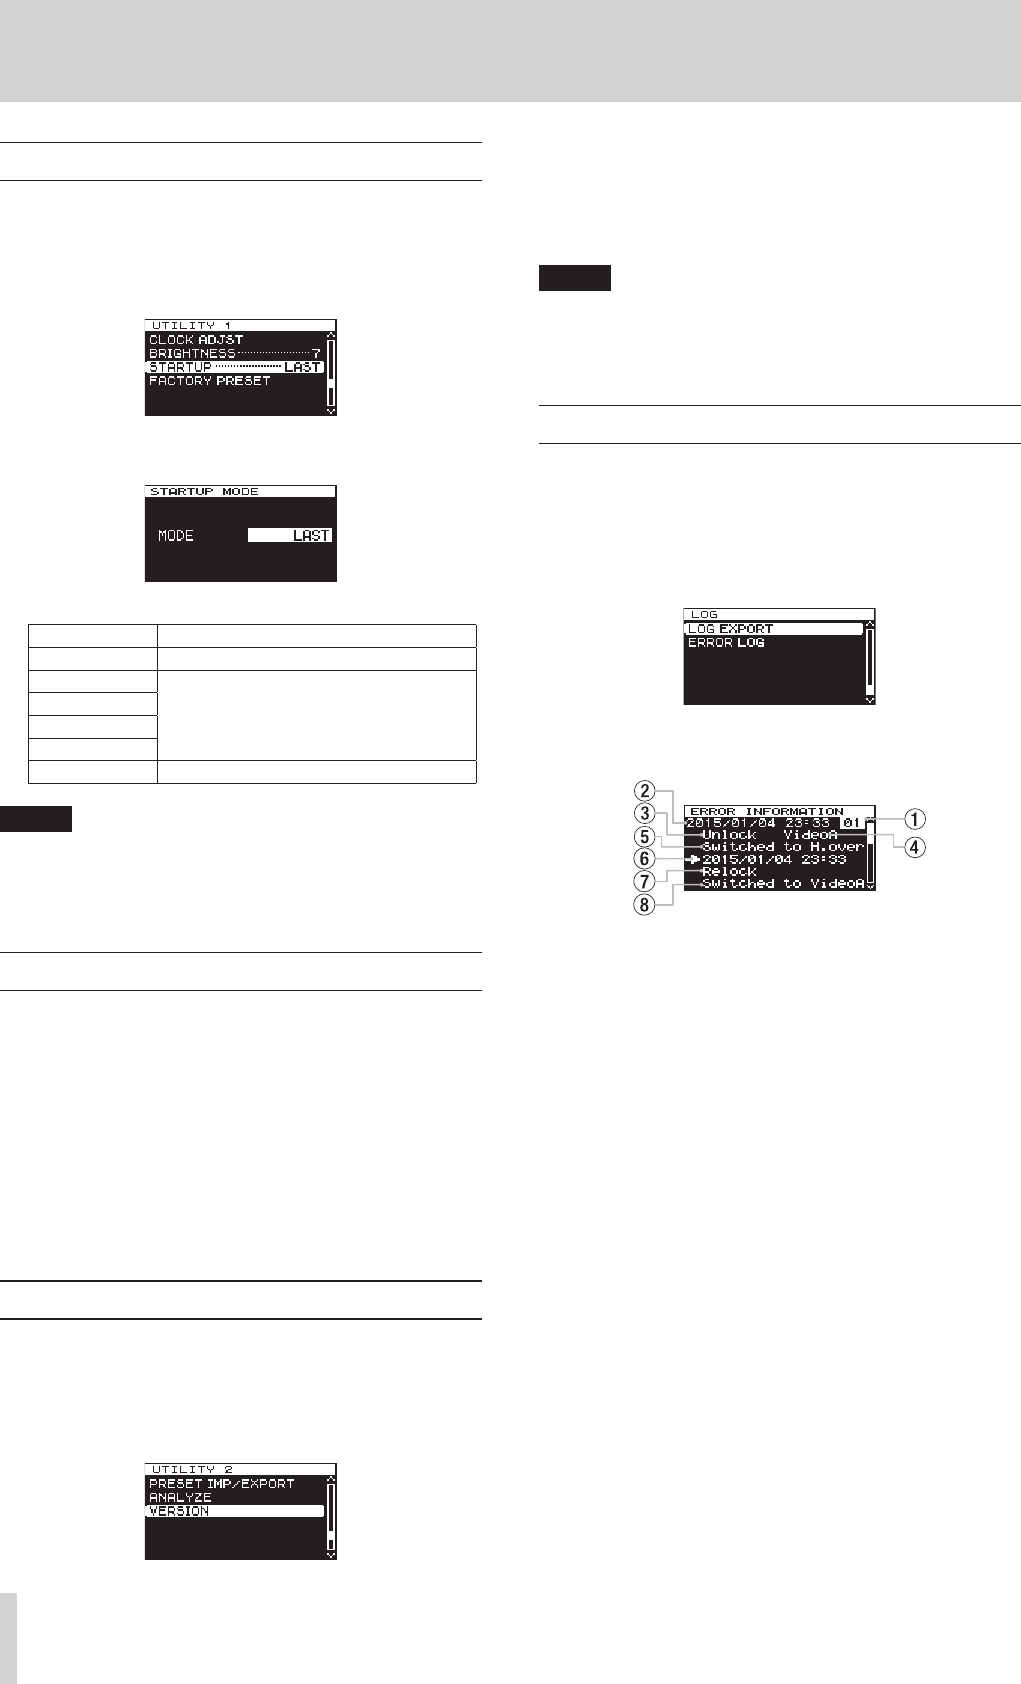
In the error log, each error is shown on a separate page.
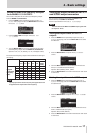
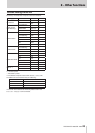
Error log page example
1 Error log number
These numbers are assigned to errors in order as they are
added to the log.
2 Error date and time
This shows when the error was added to the log.
3 Error summary
This shows the error code and signal affected as described
in the Overview of error codes table. (See “Overview of error
codes” on page 10.)
4 Signal that error affected
This shows the signal that the error affected.
5 Error result
This shows what happened because of the error.
6 Recovery date and time
This shows when the unit recovered from the error.
7 Recovery summary
This shows how the unit recovered from the error.
8 Recovery result
This shows what happened when the unit recovered.


Find Your Products By Category
Please Login
