
0
Owner's of the Casio Electronic Keyboard Keyboard gave it a score of 0 out of 5. Here's how the scores stacked up:
Using the Song Sequencer
E-72
This section explains how to record to the system track and
how to record to Tracks 01 through 16. For details about track
configuration and what is recorded to each track, see “What
you can do with the song sequencer” (page E-70).
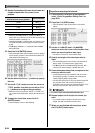
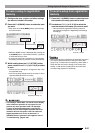
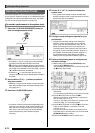
1.
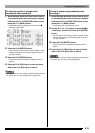
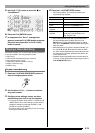
Press the C-4 (SONG SEQUENCER) button to
enter the song sequencer mode.
• An asterisk (*) next to a song area number indicates
that there is already data recorded in that area.
• L in the level meter indicates that the system track is
currently selected, while M indicates that another track
(01 through 16) is selected. In the case of M, a pointer
(e) indicates which track is selected.
• A black box ( ) in the level meter above a track
number indicates that there is already data recorded in
that track.
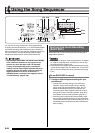
2.
Use the dial or R-14 (–, +) buttons to select a
song area number.
• Selecting a song area that already contains recorded
data will immediately recall the header settings of the
song (page E-71).
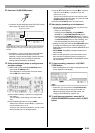
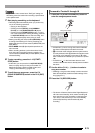
3.
Press the C-3 (RECORD) button.
• The button will start to flash and the Digital Keyboard
will enter record standby, which means recording will
start whenever you play something on the keyboard.
Up to step 7, take care that you do not accidentally
press a keyboard key and unintentionally start
recording.
4.
Use the R-17 (u, i) buttons to select the
system track.
• If the system track already contains recorded data,
starting recording in step 7 below will cause the current
system track data to be deleted.
5.
Configure panel settings as required for your
performance.
• Configure the following settings: tone and rhythm
selection, tempo, layer and split, synchro standby
(when using Auto Accompaniment), mixer, etc. For
details about settings that can be configured, see
“Recording Start” under “System Track and Track 01
through 16 Common Recording Content” (page E-71)
and “System Track Recording Content” (page E-71).
For information about mixer settings, see “Mixer
Settings in the Song Sequencer Mode” (page E-76).
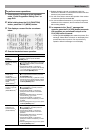
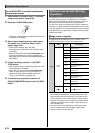
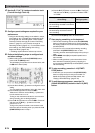
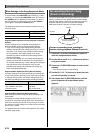
6.
Perform the following steps to configure beat
and other settings.
Recording Individual Tracks
To record a performance to the system track
Song area number
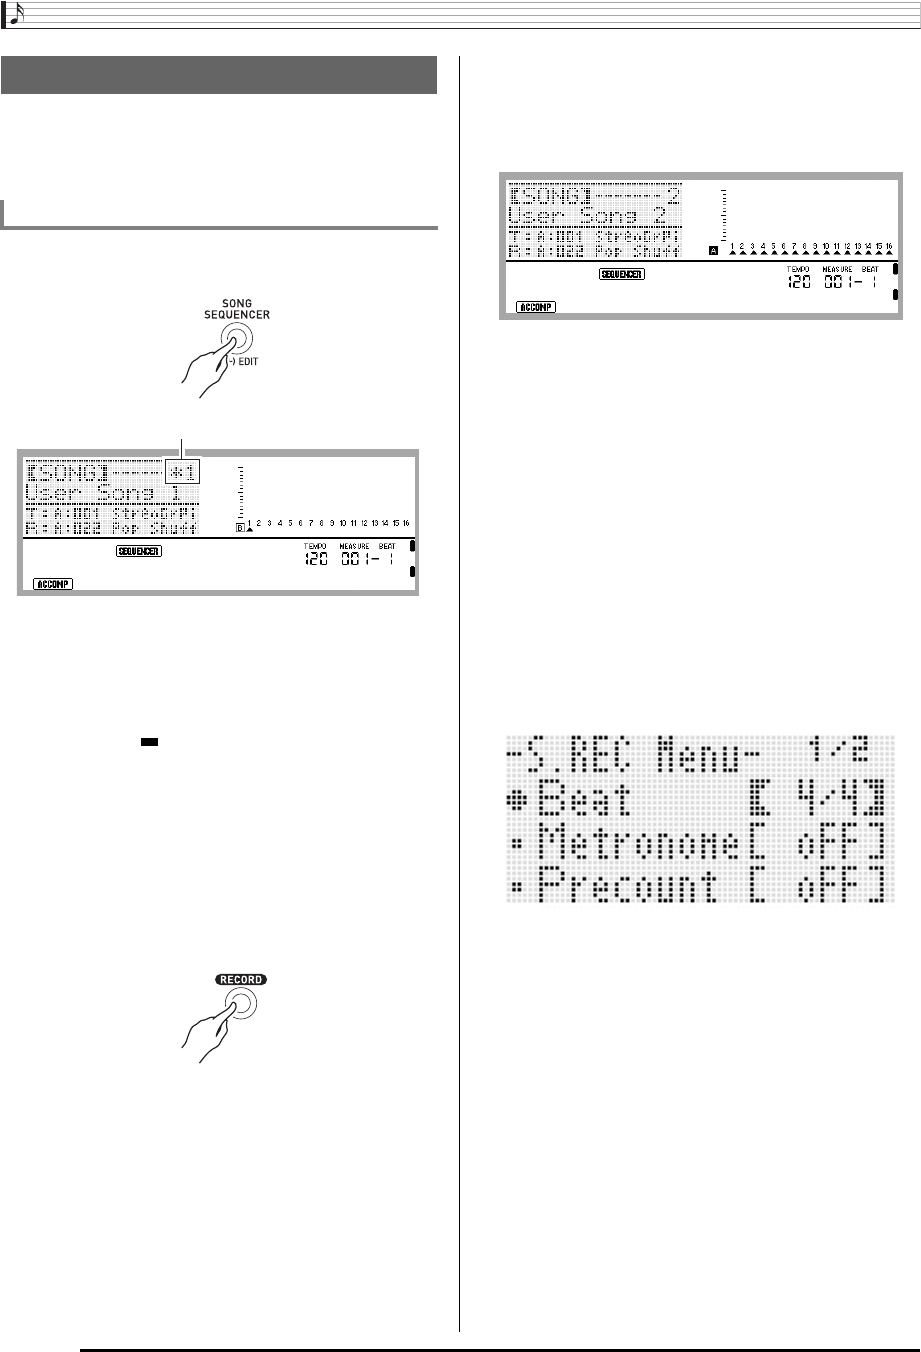
(1)While holding down the R-13 (FUNCTION) button,
press the C-17 (MENU) button.
This will display a menu like the one shown below, with
the 0 next to “Beat” (beat).
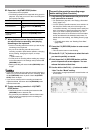
(2)Use the dial or R-14 (–, +) buttons to configure the
beat setting.
You can specify a beat setting of 2/4 to 8/4, 2/8 to 16/8.
(3)Use the R-17 (y) button to move the 0 to
“Metronome” and then use the R-14 (–, +) buttons to
turn the metronome on or off.
Turning on the metronome causes it to sound a count
during recording, but not during playback.
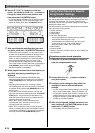
(4)Use the R-17 (y) button to move the 0 to “Precount”
and then use the R-14 (–, +) buttons to turn the
precount on or off.
Turing on the precount inserts a one-measure count
before the start of recording when you press the L-16
(START/STOP) button in step 7.
(5)Press the R-15 (EXIT) button to exit the menu.


Find Your Products By Category
Please Login
