
0
Owner's of the Casio Musical Toy Instrument Privia Pro PX-560 Digital Piano gave it a score of 0 out of 5. Here's how the scores stacked up:
EN-58
Recording and Playback
8.
After you are finished playing, touch “Y”.
This enters the playback mode. Touch “X”to play back
what you recorded up to this point. To stop playback,
touch “Y”.
• You can use the following procedure to turn specific
tracks on (play enabled) and off (play disabled). This
allows you to listen only to the track(s) you want
when recording a new track.
You can mute specific recorded tracks so they do not
play as you record a new track.
9.
Repeat steps 2 through 8 above as required
to record all of the parts you need to complete
your song.
• You can re-record the currently selected track
without changing any settings. Simply touch “Rec
Type” on the screen that is displayed in the
recording mode, and then select “Re-Recording”.
You can use punch-in recording to re-record a specific
part of recorder song that you want to improve or
correct.
1.
Enter the MIDI recorder recording mode and
then select the track where you want to
perform punch-in recording.
• For information about how to select a track, see steps
4 and 5 under “To record to a specific track (Part)”
(page EN-57).
2.
Touch “Rec Type”.
3.
Touch “Punch In Sync”.
• If you want to delete all of the data in the track
following the section you recorded with punch-in
recording, touch “Punch Out Erase”.
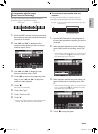
4.
Touch “X”.
This will start playback of the selected track.
5.
When playback reaches the point you want to
re-record, play the desired note(s) on the
keyboard.
This starts punch-in recording, so continue to play.
• Performing a pedal or pitch bend wheel operation
also will start punch-in recording.
• Besides keyboard play, you can also start punch-in
recording by performing the operation below.
Touch “Punch In”*
1
, change the tone, change the
rhythm*
2
, change the tempo*
2
.
*1 Used when you want to start punch-in recording
without modifying play or settings.
*2 System track only
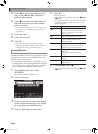
• During punch-in playback, you can touch “s” to
skip back or “d” to skip forward. This lets you
jump more quickly to the location you want to
record. You can also pause playback by touching
“k”.
6.
After you are finished punch-in recording,
touch “Y”.
Anything in the track following the point where you
touched “Y” will be retained as-is.
• If you want to cancel punch-in recording part way
through and retain the original track data, touch
“Cancel Punch”.
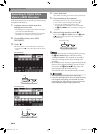
(1) Touch “Monitor”.
This displays the MIDI Recorder playback
properties screen.
(2) You can select “Mute” or “Solo” for each of the
tracks.
Mute: Track is not played.
Solo: Selected track is played alone.
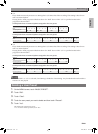
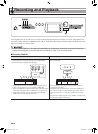
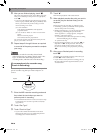
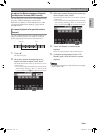
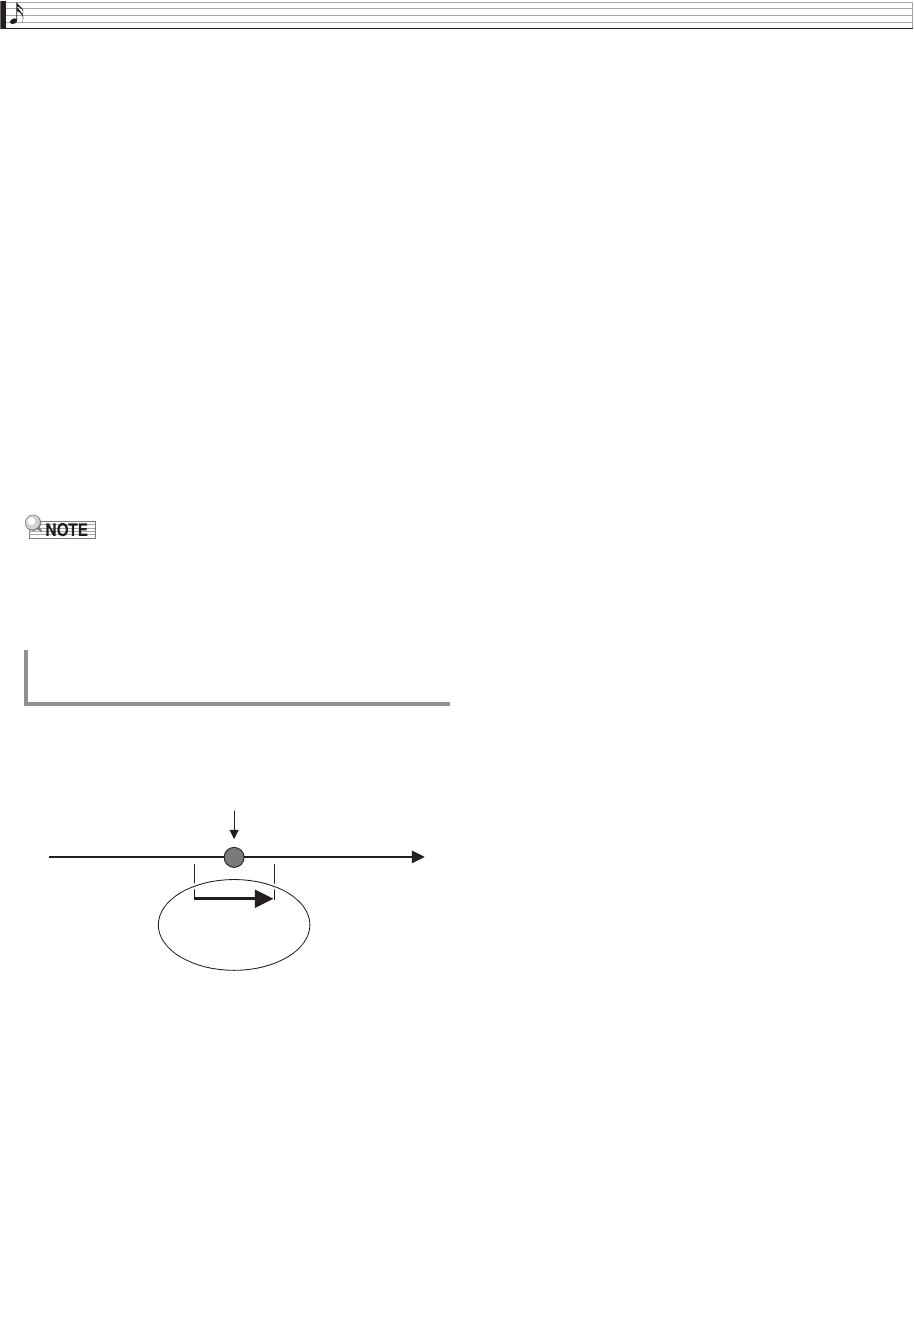
To re-record part of a recorder song
(Punch-in Recording)
Mistake
Playback
Use punch-in
recording to re-record
only this part.
PX560-ES-1A.indd 60 2015/06/18 14:53:51


Find Your Products By Category
Please Login
