
0
Owner's of the Shure Microphone Wireless System gave it a score of 0 out of 5. Here's how the scores stacked up:
17
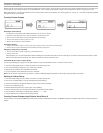
Networking
The receiver uses an Ethernet connection to network with other components and includes an internal DHCP client for automatic network configuration when connected to
a DHCP enabled router.
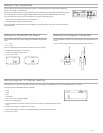
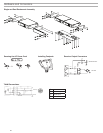
Connecting to a Network
1. Insert an Ethernet cable in the Ethernet port on the rear of the receiver.
2. Connect the cable to a computer or router.
3. The port LEDs on the receiver will illuminate to indicate network
connectivity and network traffic.
Automatic IP Addressing
1. Enable a DHCP service on the server or use a DHCP enabled router.
2. When the receiver is powered on, the DHCP server will automatically
assign an IP address to the receiver.
Tip: Use the network reset option available in the advanced features menu
to return the receiver to the default DHCP addressing mode.
Configuration Tips
• Use shielded Cat 5 or better Ethernet cables to ensure reliable network
performance
• The LEDs on the Ethernet port illuminate indicating a network connection
is active
• The network icon illuminates when the receiver detects additional Shure
devices on the network
• All components must operate on the same subnet
• Use multiple Ethernet switches to extend the network for larger
installations
Network Troubleshooting
• Use only one DHCP server per network
• All devices must share the same subnet mask
• All receivers must have the same level of firmware revision installed
• Look for the illuminated network icon on the front panel of each device:
If the icon is not illuminated, check the cable connection and the LEDs on the
Ethernet port.
If the Ethernet port LEDs are not illuminated and the cable is plugged in, replace the
cable and recheck the LEDs and network icon.
To check connectivity of WWB6 to the network:
1. Start WWB6 software and use Inventory view to see devices connected to the
network.
2. If not, find the IP address from one of the devices on the network (such as a
receiver) and see if you can ping it from the computer running WWB6.
3. From a WINDOWS/MAC command prompt, type ‘ping IPADDRESS’ of the device
(e.g. "ping 192.168.1.100").
4. If the ping returns success (no packet loss), then the computer can communicate
with the device on the network. If the ping returns failure (100% packet loss), then
verify that the IP address of the computer is on the same subnet as the receiver.
5. If the pings are successful and the devices still do not show up in the WWB6
inventory, check to ensure all firewalls are either disabled or allow the WWB network
traffic to pass to the application. Check that firewall settings are not blocking network
access.
Setting the IP Address and Subnet Mask Manually
IP addresses and subnet masks can be manually set from the advanced menu in the receiver or from the monitor panel in Wireless Workbench 6.
Network settings entered manually must be valid and conform to IP protocols to ensure proper network communication.
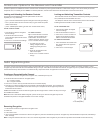
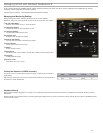
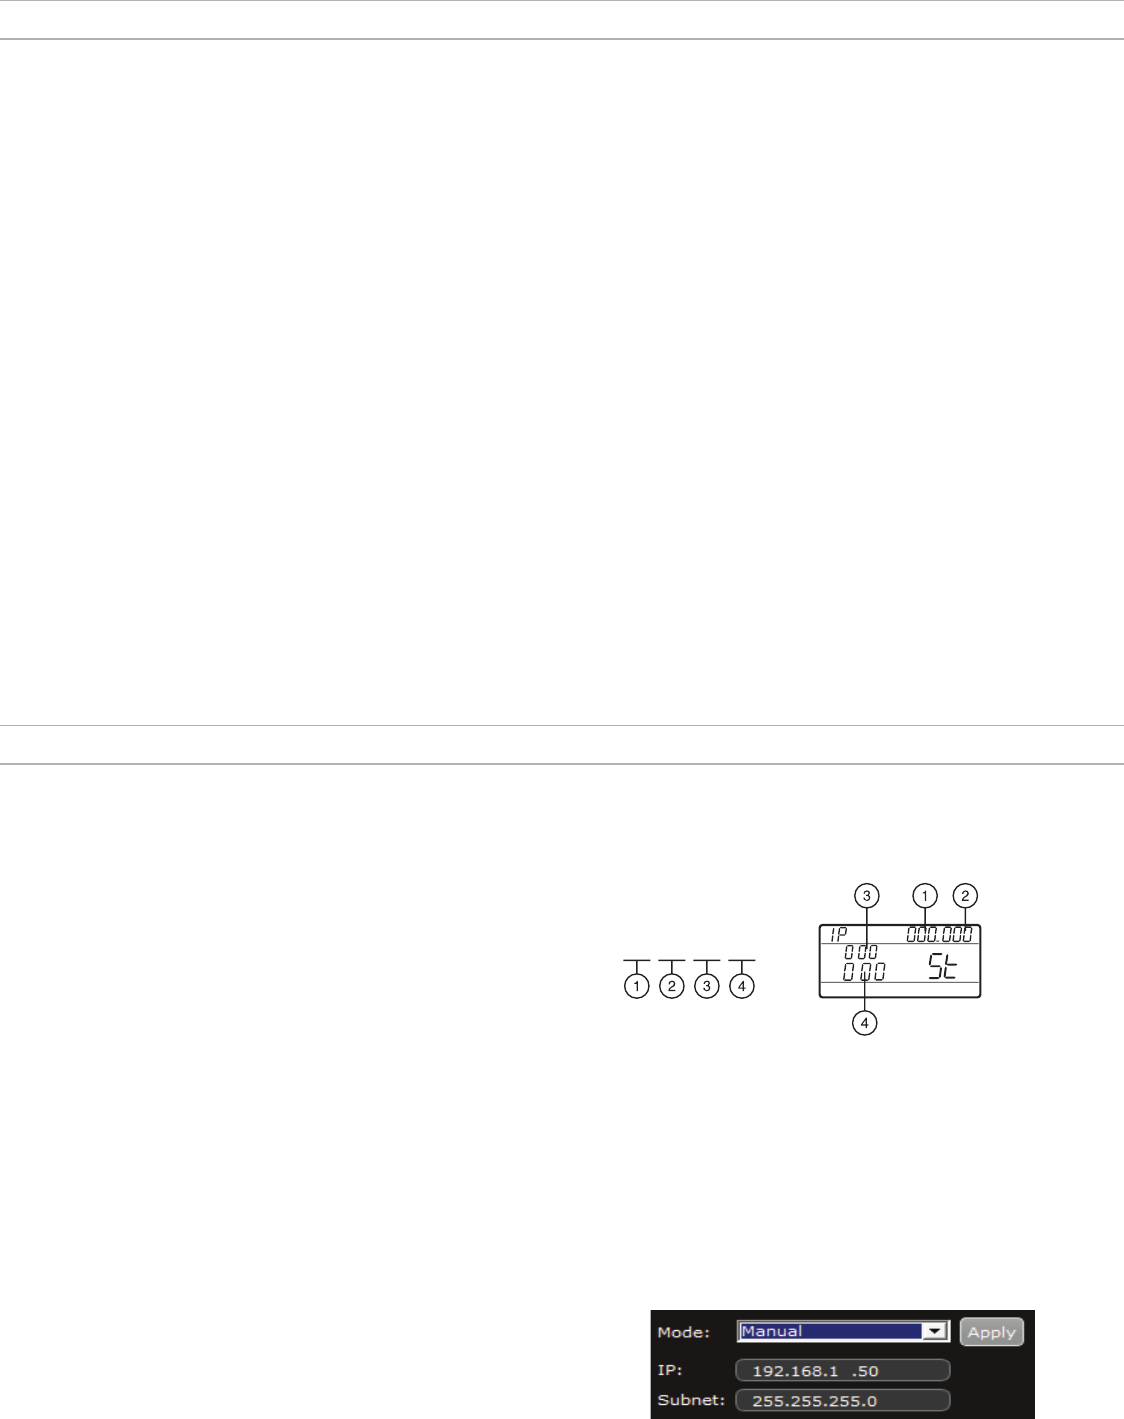
Receiver Menu
IP addresses and subnet addresses contain 4 groups of numbers. Each group
can contain up to 3 digits. A decimal point separates each group.
When setting an IP address or subnet address, each of the 4 groups must be
edited individually. The following diagram shows how the groups are mapped to
the receiver display:
000.000.000.000
1. Press menu while holding the enter button to access the advanced menu.
2. Press the menu button to navigate to the IP menu.
3. Use the arrow buttons to set the mode to St (static) and press enter.
4. Use the arrow buttons to edit the first group. Press enter to save and continue to the next group.
5. Use the arrow buttons and enter button to edit the remaining 3 groups.
6. When group 4 has been edited, the display will show the subnet mask menu. Use the arrow buttons to scroll and select a preset value for each of the subnet mask
groups.
7. When finished, press enter to save settings.
Note: To restore automatic DHCP IP addressing, enter the IP menu and select AU (automatic). The Network Reset menu option can also be used to restore DHCP
addressing.
Wireless Workbench 6
1. Open the Channel Properties tab in WWB6.
2. Click on Utilities and set the networking mode to Manual.
3. Enter valid numbers in the IP and Subnet fields.
4. When finished, select Apply.


Find Your Products By Category
Please Login
