
0
Owner's of the Casio Electronic Keyboard Keyboard gave it a score of 0 out of 5. Here's how the scores stacked up:
Using the Song Sequencer
E-74
4.
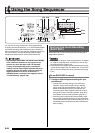
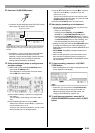
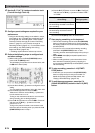
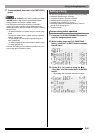
Use the R-17 (u, i) buttons to select a track
(Track 01 through Track 16).
5.
Configure panel settings as required for your
performance.
• Configure the following settings: tone selection, tempo,
mixer settings, etc. For details about settings that can
be configured, see “Recording Start” under “System
Track and Track 01 through 16 Common Recording
Content”
*
(page E-71) and “Track 01 through 16
Recording Content” (page E-71). For information about
mixer settings, see “Mixer Settings in the Song
Sequencer Mode” (page E-76).
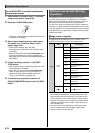
6.
Perform the following steps to configure beat
and other settings.
7.
Start playing something on the keyboard.
• This will start recording and cause the C-3 (RECORD)
button to change from flashing to lit. During recording,
the display will show the current measure (MEASURE)
and beat (BEAT).
• To input one or more rests before starting recording,
press the L-16 (START/STOP) button to start
recording, and then start keyboard play at the point you
want.
• PITCH BEND wheel (S-1) and pedal operations are
also recorded.
• When recording reaches a point where there is less
than 100 notes of remaining memory capacity, the
current measure (MEASURE) and beat (BEAT) values
will start flashing.
8.
To stop recording, press the L-16 (START/
STOP) button.
• At this time you can press the L-16 (START/STOP)
button to replay what you have just recorded. For
details about playing back recorded content, see
“Playing a Recorded Song” (page E-79).
9.
To exit the song sequencer, press the C-4
(SONG SEQUENCER) button or the R-15 (EXIT)
button.
* Excluding rhythm selection and accomp volume.
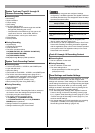
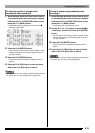
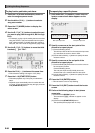
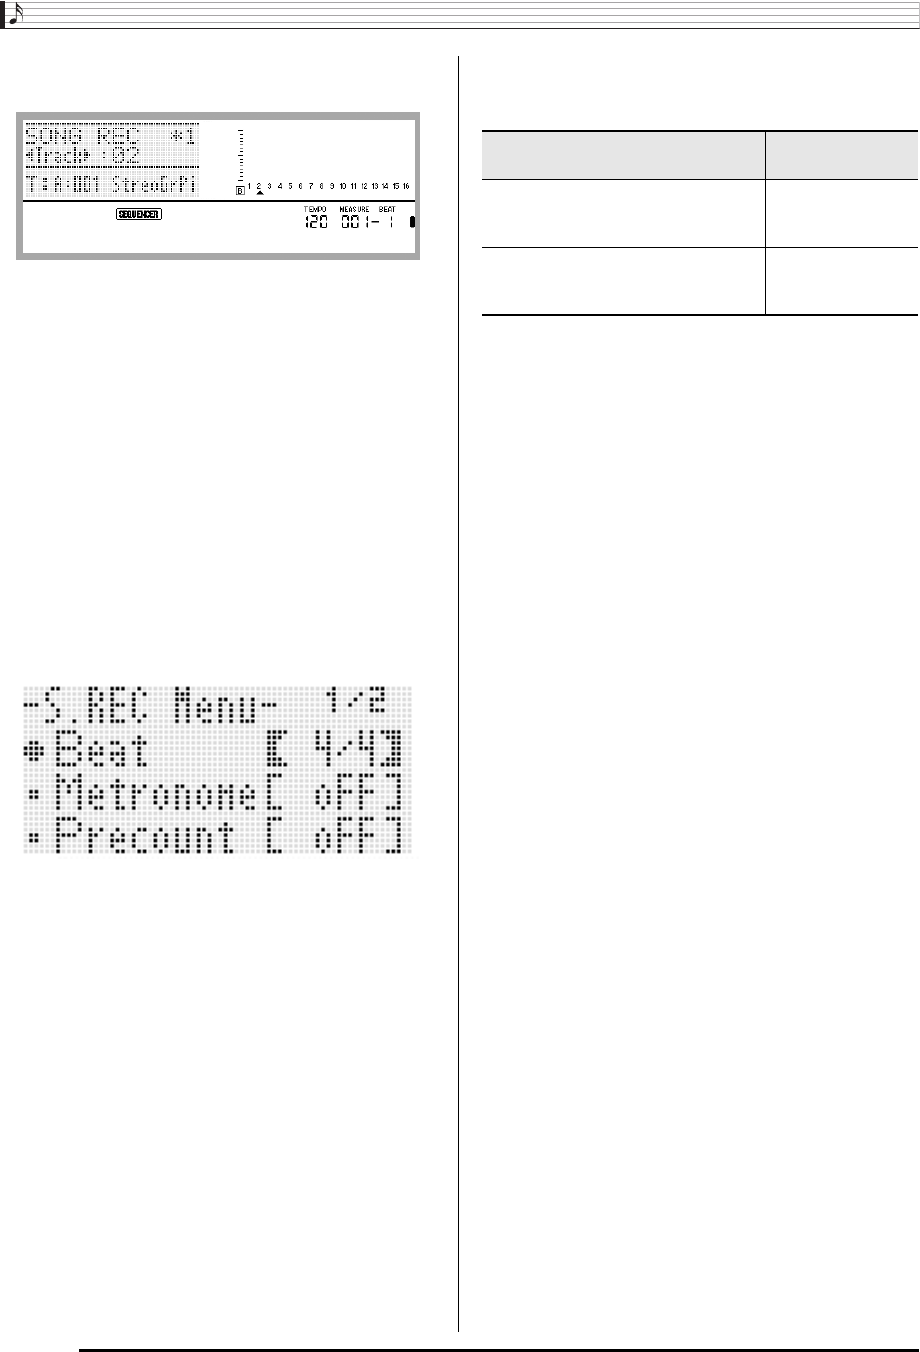
(1)While holding down the R-13 (FUNCTION) button,
press the C-17 (MENU) button.
This will display a menu like the one shown below, with
the 0 next to “Beat” (beat).
(2)Use the dial or R-14 (–, +) buttons to configure the beat
setting.
You can specify a beat setting of 2/4 to 8/4, 2/8 to 16/8.
(3)Use the R-17 (y) button to move the 0 to
“Metronome” and then use the R-14 (–, +) buttons to
turn the metronome on or off.
Turning on the metronome causes it to count a count
during recording, but not during playback.
(4)Use the R-17 (y) button to move the 0 to “Precount”
and then use the R-14 (–, +) buttons to turn the
precount on or off.
Turing on the precount inserts a one-measure count
before the start of recording when you press the L-16
(START/STOP) button in step 7.
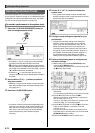
(5)Use the R-17 (y) button to move the 0 to “RecType”,
and then use the R-14 (–, +) buttons to select “REPL”
or “OVDB”.
When you want to perform this type
of recording:
Select this
RecType option:
Delete any data currently existing in
the track being recorded to and start a
new recording.
REPL (Replace)
Overdub any data currently existing in
the track being recorded to with the
new recording.
OVDB (Overdub)
(6)Press the R-15 (EXIT) button to exit the menu.


Find Your Products By Category
Please Login
