
0
Owner's of the Casio Electronic Keyboard Keyboard gave it a score of 0 out of 5. Here's how the scores stacked up:
Using the Song Sequencer
E-77
6.
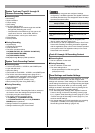
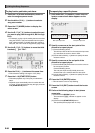
Press the L-16 (START/STOP) button.
• This starts punch-in playback.
• The following operations are supported during punch-in
playback. They help you move to the re-recording start
point quickly and easily.
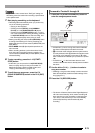
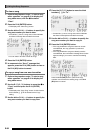
7.
When playback reaches the point from which
you want to start re-recording, start playing
something on the keyboard.
• Punch-in recording starts the moment you start to play
something on the keyboard.
• Any one of the following also will start punch-in
recording: a pedal or pitch bender operation; changing
the tone setting; changing the rhythm, or tempo
setting
*
.
• To start punch-in recording without making any change
in the notes played or the settings used, press the C-3
(RECORD) button.
• Starting recording will cause the C-3 (RECORD) button
to light.
• If you want to delete all of the data in the track following the
section you just re-recorded with punch-in recording, press
the C-3 (RECORD) button in place of the L-16 (START/
STOP) button in step 8.
• If you want to cancel punch-in recording and retain the
original track data, hold down the C-3 (RECORD) button
until it becomes unlit.
8.
To stop recording, press the L-16 (START/
STOP) button.
• This will end punch-in recording and cause the C-3
(RECORD) button to become unlit.
• Any previously recorded data in the track that comes
after the point you stopped punch-in recording will
remain in the track.
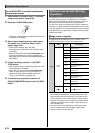
1.
Play the song and determine what part of what
track you want to re-record.
• For details about play back, see “Playing a Recorded
Song” (page E-79).
• You can specify a specific measure, beat, and tick* for
the start point and the end point of the range to be
re-recorded. Normally, it is probably best to specify the
start of a measure or beat as the start point and end
point. If you want to specify specific ticks, you can
display the track to be re-recorded on the event editor
screen and determine the desired location there. For
details about event editing, see “Editing Events” (page
E-87).
* For details about ticks, see “Reading Event Data”
(page E-88).
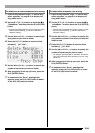
2.
Press the C-3 (RECORD) button to enter record
standby.
• This causes the button to start flashing.
3.
Use the R-17 (u, i) buttons to select the track
you want to partially re-record.
4.
Hold down the C-3 (RECORD) button until the
punch-in/punch-out screen appears. You can
release the button at that time.
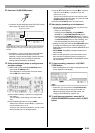
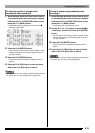
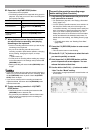
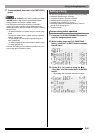
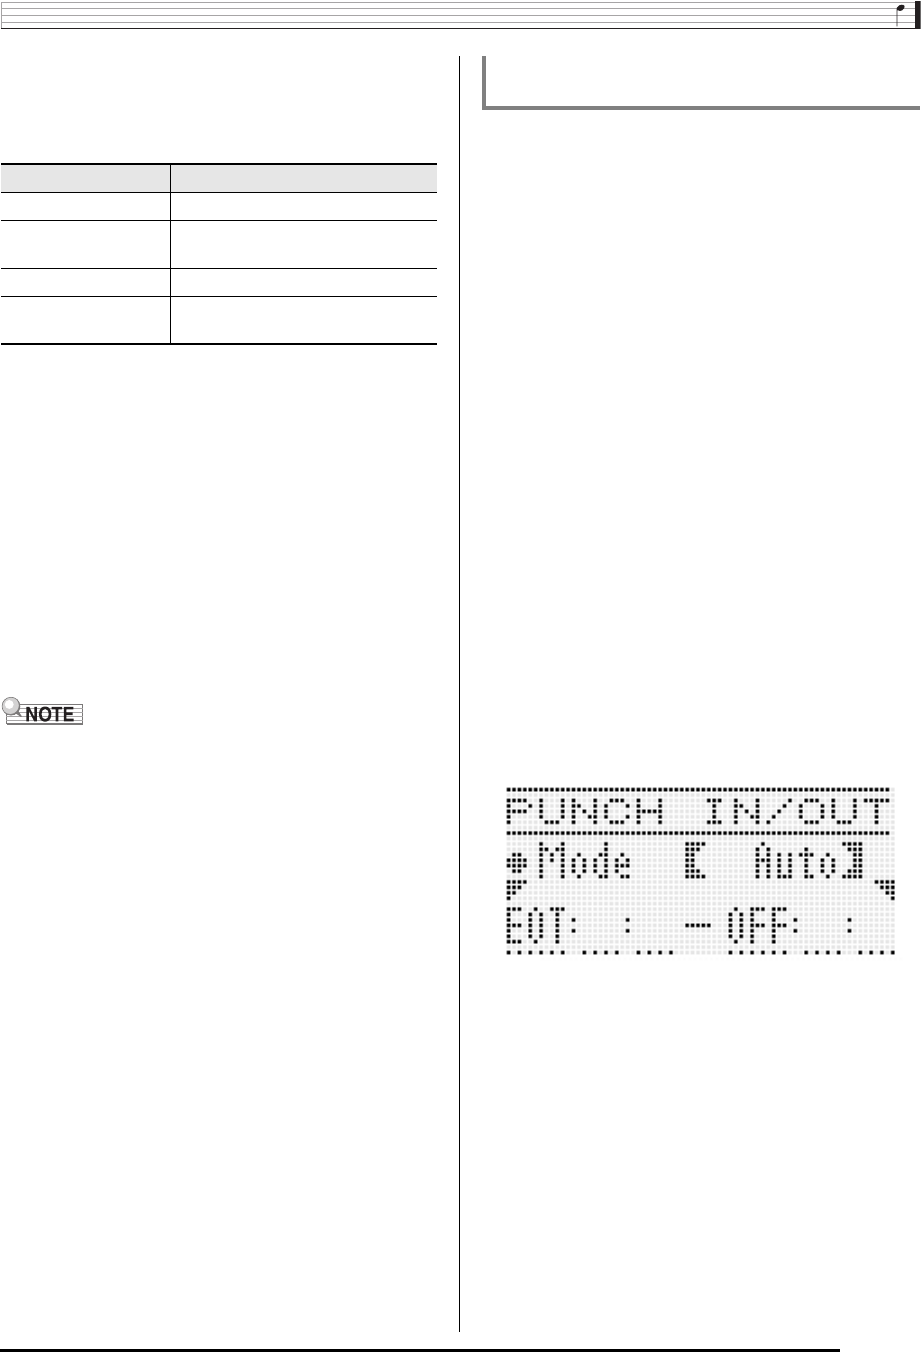
5.
Use the dial or the R-14 (–, +) buttons to select
“Auto” for the “Mode” setting.
• This displays a range specification screen like the one
shown below.
To do this: Do this:
Fast Forward Hold down the L-14 (dFF) button.
Fast Backward Hold down the L-13 (sREW)
button.
Pause Press the L-15 (PAUSE) button.
Restart paused
playback.
Press the L-15 (PAUSE) button.
* System track only
To specify the punch-in recording range
before starting (Auto Punch-in)


Find Your Products By Category
Please Login
