
0
Owner's of the Casio Electronic Keyboard Keyboard gave it a score of 0 out of 5. Here's how the scores stacked up:
Using the Song Sequencer
E-78
6.
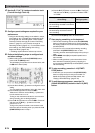
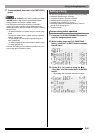
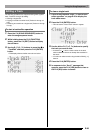
Use the R-17 (u, i) buttons to move the
cursor, use the dial or the R-14 (–, +) buttons to
change the value at the cursor position, and
then press the R-16 (ENTER) button.
• If you have already specified a range using the locator
screen (page E-80), you can copy that range to this
screen by holding down the L-12 (REPEAT) button.
7.
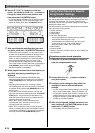
After specifying the recording start point and
end point, press the L-16 (START/STOP) button.
• This starts punch-in playback. You can perform fast
forward and fast backward operations during punch-in
playback using the operations described in step 6
under “To start re-recording from a particular location
during playback (Manual Punch-in)” (page E-76).
• You can start punch-in playback from one measure
prior to the current recording start point by pressing the
L-12 (REPEAT) button which causes the ?
indicator to appear on the display.
8.
When playback reaches the re-record point you
specified, start playing something on the
keyboard.
• Punch-in recording will start automatically when
playback reaches the record start point you specified.
The C-3 (RECORD) button will light when recording
starts.
• Recording stops and punch-in recording is exited
automatically when the record end point you specified
is reached. At this time the C-3 (RECORD) button will
become unlit.
• If you want to stop recording before the record end
point you specified is reached, press the L-16 (START/
STOP) button. Any previously recorded data in the
track that comes after the point you stopped punch-in
recording will remain in the track.
• When “EOT” (End of Track) is selected for the
recording start point, the start point for punch-in
recording is the end of the track.
• When “OFF” is selected for the recording end point,
punch-in recording will not stop automatically because
no end point is specified. To stop punch-in recording in
this case, press the L-16 (START/STOP) button.
The header of each song contains “header settings”, which
are settings that were in effect on the Digital Keyboard when
recording was performed. You can use a “panel record”
operation to rewrite a song’s header settings with the Digital
Keyboard’s current setup.
The following items are header settings that can be rewritten
using the panel record operation.
• Rhythm selection
• Tempo setting
• Scale setting
• The mixer settings below
– All part parameters from A04 through A07 and B01
through B16 (Excluding part on/off)
– Part parameters from A09 through A16: part on/off,
coarse tune, fine tune, scale enable, DSP line
– DSP parameters: volume, pan, reverb send
• Effect settings
• Accomp volume
• UPPER 1 part tone, UPPER 2 part tone, and LOWER part
tone selections
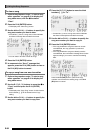
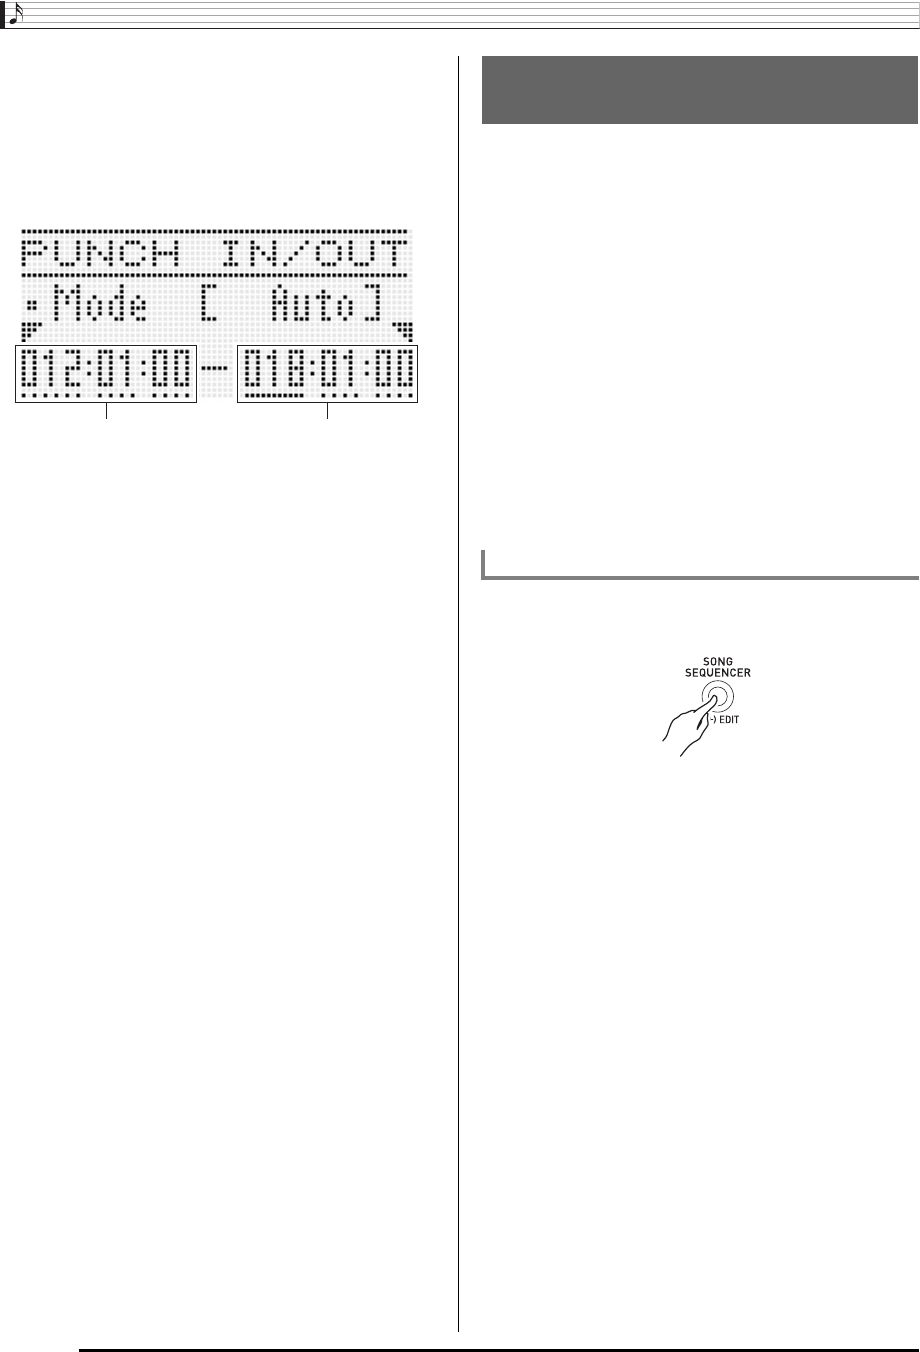
1.
Press the C-4 (SONG SEQUENCER) button to
enter the song sequencer mode.
2.
Use the dial or R-14 (–, +) buttons to select a
song area number.
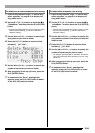
3.
Configure panel settings so they reflect the
settings you want to write as the header
settings.
• You can configure the following settings: mixer settings,
tempo, system track rhythm, track tone selection, etc.
• To change the system track UPPER 1, UPPER 2, and
LOWER part tones or mixer settings, use the mixer to
change the settings of parts A05 (UPPER 1), A06
(UPPER 2), and A07 (LOWER).
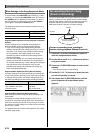
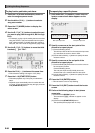
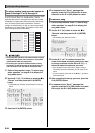
4.
After all of the panels settings are the way you
want, hold the R-13 (FUNCTION) button as you
press the C-17 (MENU) button.
• This displays the song sequencer menu.
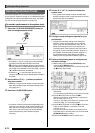
Recording start point Recording end point
Using Panel Record to Rewrite
Song Header Settings
To perform a panel record operation


Find Your Products By Category
Please Login
