
0
Owner's of the Tascam MP3 Player 2ch audio recorder ad/da converter gave it a score of 0 out of 5. Here's how the scores stacked up:

TASCAM DA-3000
41
6 − Playback
NOTE
To cancel marked deletion, press the EXIT/CANCEL [PEAK
CLEAR] button.
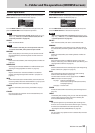
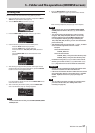
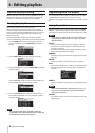
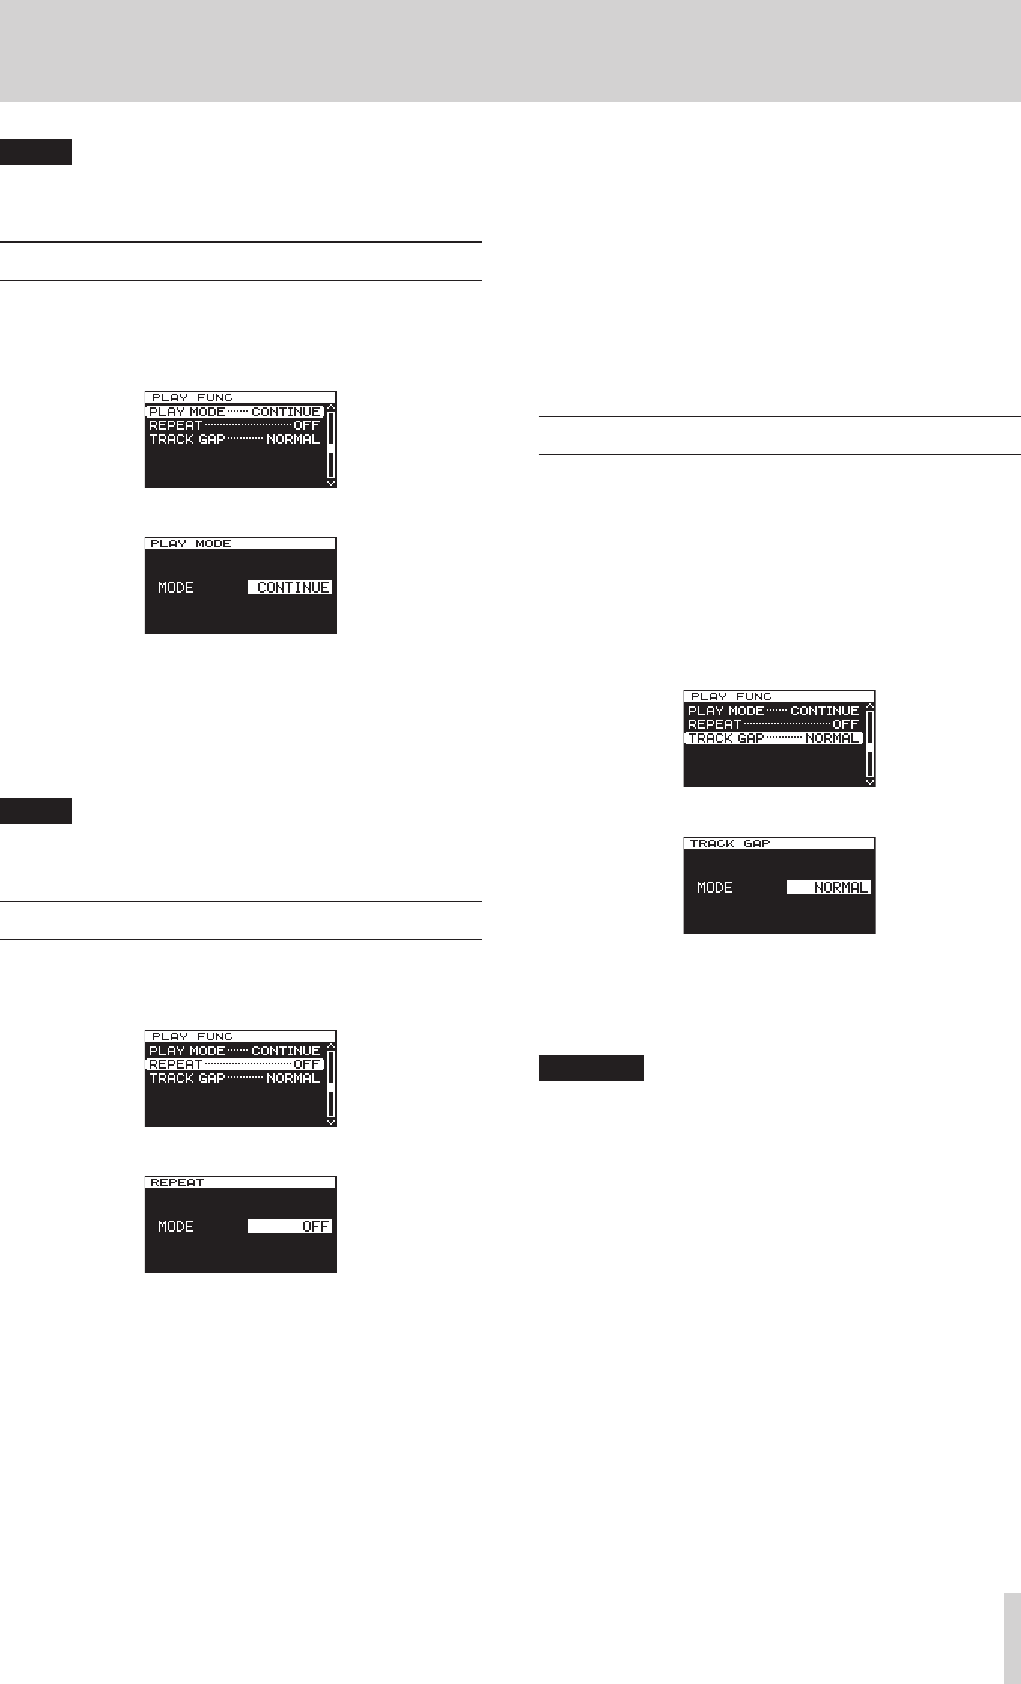
Setting the PLAY Mode
Setting the PLAY mode.
1. Press the MENU button to open the menu screen
PLAY
FUNC
page, and turn the MULTI JOG dial to select
PLAY
MODE
.
2. Press the MULTI JOG dial to open the
PLAY MODE
screen.
3. Turn the MULTI JOG dial to select the Play mode.
Options: “CONTINUE” (default) - Continues to play all tracks
from track 1 through to the last one.
“SINGLE” - Plays only the currently selected track.
4. Press the MULTI JOG dial to confirm the selection and return
to the menu screen.
NOTE
By using the combination of Repeat Playback and Play
Mode =
SINGLE
, a single track can be looped endlessly.
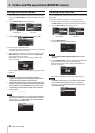
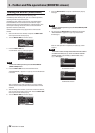
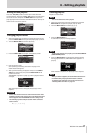
Repeat playback
You can set the unit to play tracks repeatedly.
1. Press the MENU button repeatedly to open the
PLAY
FUNC
menu, and turn the MULTI JOG dial to select
REPEAT
.
2. Press the MULTI JOG dial to open the
REPEAT
screen.
3. Turn the MULTI JOG dial to select the repeat playback mode.
Options:
OFF (default): Repeat playback disabled
ON: Repeat playback enabled
4. Press the MULTI JOG dial to confirm the selection and return
to the menu screen.
5. After completing the setting, press the HOME/DISPLAY
button (or remote control F2 button) to return to the Home
Screen.
6. Select the track that you want to play back repeatedly and
start playback.
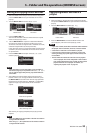
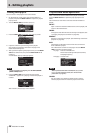
Setting gapless playback mode
You can set the unit so that gaps (silent intervals) between tracks
during playback are eliminated.
If you want audio data, including tracks recorded using the
auto track and track increment functions, to play back continu-
ously without gaps between tracks, set the track gap mode to
GAPLESS
. When the track gap mode is
NORMAL
, brief silences
will occur between tracks.
1. Press the MENU button to open the menu screen
PLAY
FUNC
page, and turn the MULTI JOG dial to select
TRACK
GAP
.
2. Press the MULTI JOG dial to open the
TRACK GAP
screen.
3. Turn the MULTI JOG dial to select the track gap mode.
Options: NORMAL (default), GAPLESS
4. Press the MULTI JOG dial to confirm the selection and return
to the menu screen.
CAUTION
•
If
GAPLESS
is selected during DSD file playback
Depending on the status of the audio data, noise might
occur at the division between tracks due to the nature
of DSD files. If the noise is bothersome, set the track gap
mode to
NORMAL
to avoid it. (Noise will not occur during
the gapless playback of audio from tracks created using
this unit’s auto track and track increment functions, for
example.)
•
When using the cascade function
Set both the master and slave units to the same track mode.
If the units do not have the same setting, they will not be
able to synchronize when tracks change. When the track
gap mode is set to
NORMAL
, since the slave unit waits for a
playback start signal from the master unit after each track
ends, if the slave unit is played by itself, each time a track
ends, playback will pause at beginning of the next track.


Find Your Products By Category
Please Login
