
0
Owner's of the Tascam MP3 Player DP-32SD 32-Track Digital Portastudio gave it a score of 0 out of 5. Here's how the scores stacked up:
30 TASCAM DP-32SD
5 - Song Management
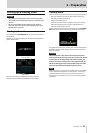
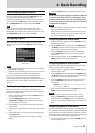
Erasing songs
You can erase a single song or multiple songs at once. You might
want to erase unneeded songs if the SD card starts to run out of
space.
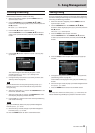
1. When the recorder is stopped, press the MENU button to
open the
MENU
screen.
2. Use the JOG/DATA dial or the CURSOR (5/b/g/t)
buttons to select (highlight green)
SONG
, and then press the
F4 (t) button.
The
SONG LIST
screen opens.
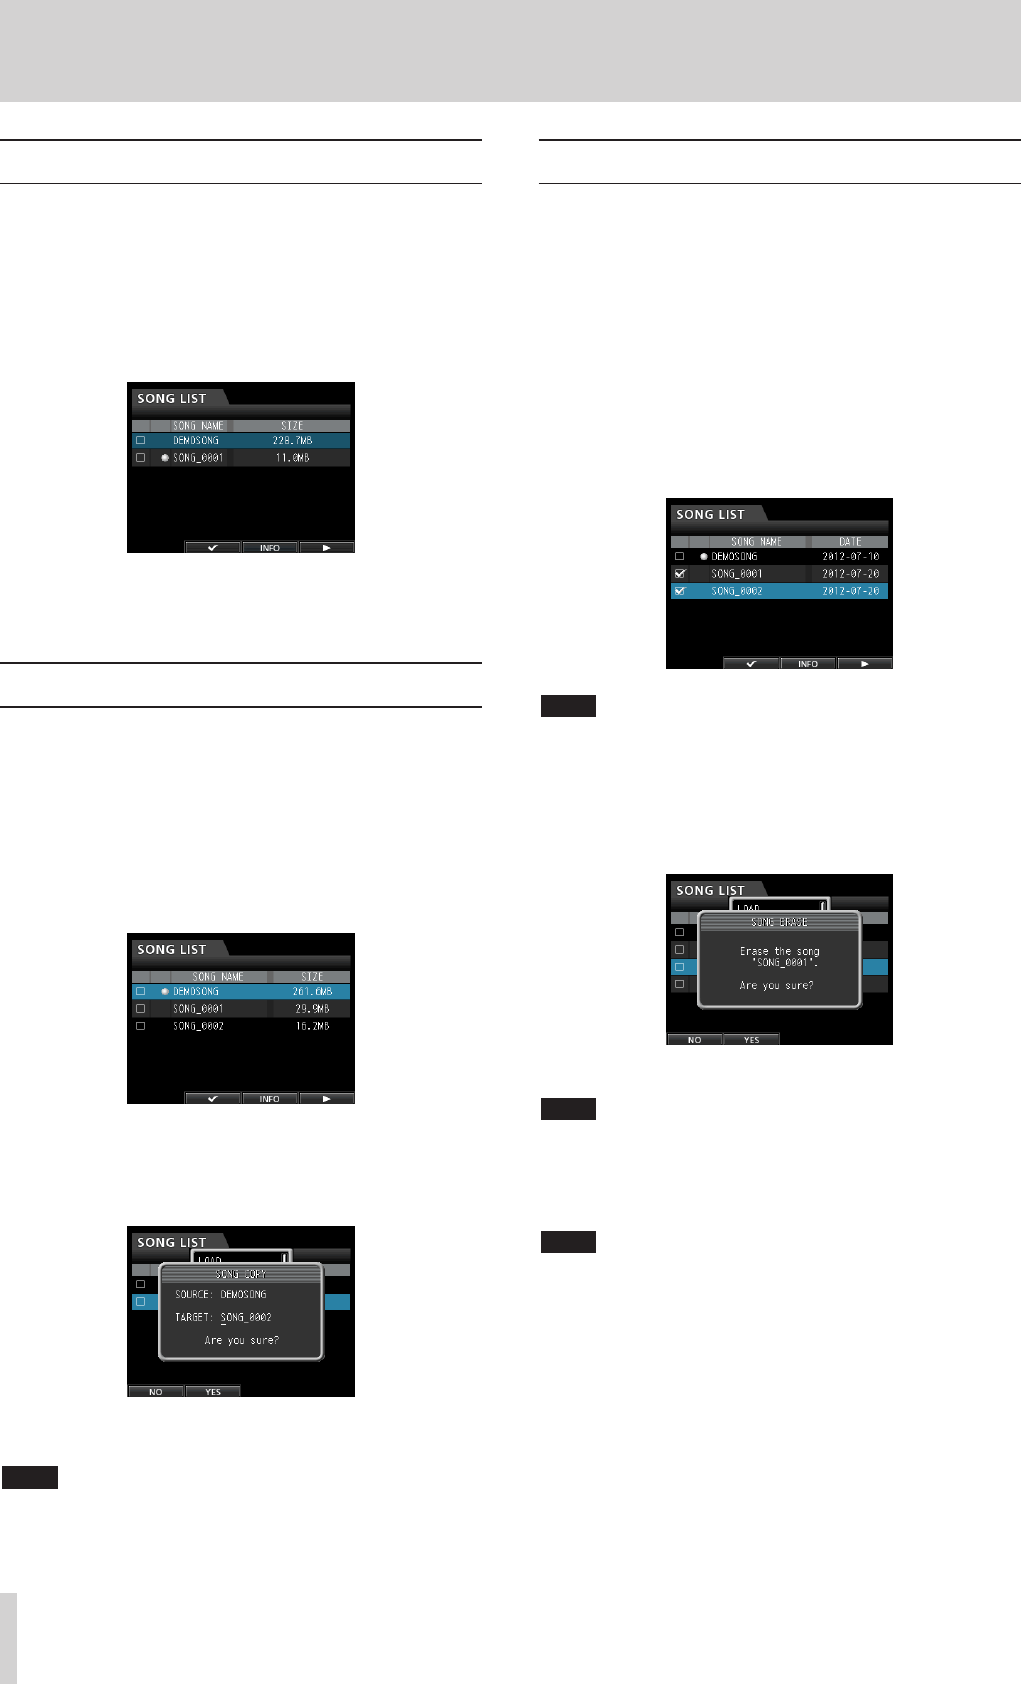
3. Select (highlight blue) the song you want to erase and then
press the F2 (4) button. To erase multiple songs, check all
the songs you want to erase.
NOTE
To remove a check 4 from a box, press the F2 (4) button again
while the song is selected (highlighted blue).
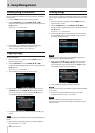
4. Next, press the F4 (t) button to open the menu. Use the
JOG/DATA dial or the CURSOR (5/b) buttons to select
ERASE
from the menu, and then press the F4 (t) button.
A confirmation pop-up message appears.
5. Press the F2 (
YES
) button to perform the erase.
NOTE
To cancel erasing a song, press the F1 (
NO
) button instead of the F2
(
YES
) button.
6. When erasing a song completes, the pop-up window
disappears from the
SONG LIST
screen.
NOTE
The MUSIC folder must always have at least one song in it.
Therefore, one song will be automatically created when you insert
or format a card.
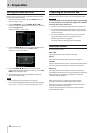
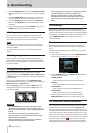
Viewing song information
You can check the song file format, song name (title), time/date,
and song size.
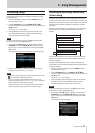
1. Press the MENU button to open the
MENU
screen.
2. Use the JOG/DATA dial or the CURSOR (5/b/g/t)
buttons to select (highlight green)
SONG
, and then press the
F4 (t) button.
The
SONG LIST
screen opens.
3. Press the F3 (
INFO
) button to cycle through the song
information shown in the following order:
SIZE
,
SAMPLE RATE
,
SAMPLE BIT
, and
DATE
.
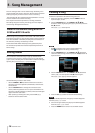
Copying songs
You can copy songs.
1. When the recorder is stopped, press the MENU button to
open the
MENU
screen.
2. Use the JOG/DATA dial or the CURSOR (5/b/g/t)
buttons to select (highlight green)
SONG
, and then press the
F4 (t) button.
The
SONG LIST
screen opens.
3. Select (highlight blue) a song you want to copy.
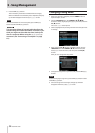
4. Next, press the F4 (t) button to open the menu. Use the
JOG/DATA dial or the CURSOR (5/b) buttons to select
COPY
from the menu, and then press the F4 (t) button.
A confirmation pop-up message appears.
5. Change the song name as you want and press the F2 (
YES
)
button.
NOTE
To cancel copying, press the F1 (
NO
) button instead of the F2 (
YES
)
button.
6. When copying completes, the pop-up window disappears
from the
SONG LIST
screen.


Find Your Products By Category
Please Login
