
0
Owner's of the Tascam MP3 Player DP-32SD 32-Track Digital Portastudio gave it a score of 0 out of 5. Here's how the scores stacked up:

TASCAM DP-32SD 35
6 - Basic Recording
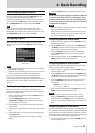
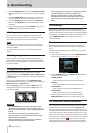
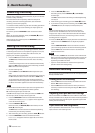
might be distorted, so lower the level until the red line stops
appearing.
If an OL indicator lights, the signal from the input source might
be too loud and/or the TRIM knob might be set too high.
If the OL indicator lights even though the TRIM knob is set to
the LINE position, the input source signal is too loud, so lower
the volume of the input source.
Ov
erload indicator
ª
Overload indicators (A to H)
The overload indicators for inputs
A
to
H
on the display show
input level (A to H) overloads.
Use the TRIM knobs of INPUTS A to H or the output volume
controls of the input sources to reduce their input levels if
overloads occur.
ª
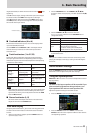
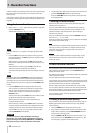
Track level meters (1 to 31/32)
These level meters show either the playback signal levels or
the input signal levels of the corresponding tracks. The signal
levels shown by the track level meters depend on the operating
conditions as shown below.
REC button Transport status Level meters
Unlit Playback
Show playback signal
levels
Flashing
(recording
standby)
Playback (Automatic
monitoring ON)
Show track playback
signal levels
Playback (Automatic
monitoring OFF)
Show input and
playback signal levels
Flashing
(recording
standby)
Stopped
Show input signal
levels
Lit (recording) Recording
Show input signal
levels
NOTE
•
When playback signal levels are shown, they cannot be adjusted
because they are the levels of the recorded signals. When input
signal levels are shown, you can adjust the levels with the TRIM
knobs of INPUT A to H.
ª
Stereo level meter (L, R)
This meter shows the output level of this unit's stereo bus.
Adjust this level with the STEREO fader.
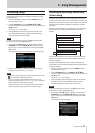
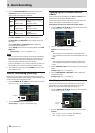
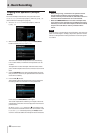
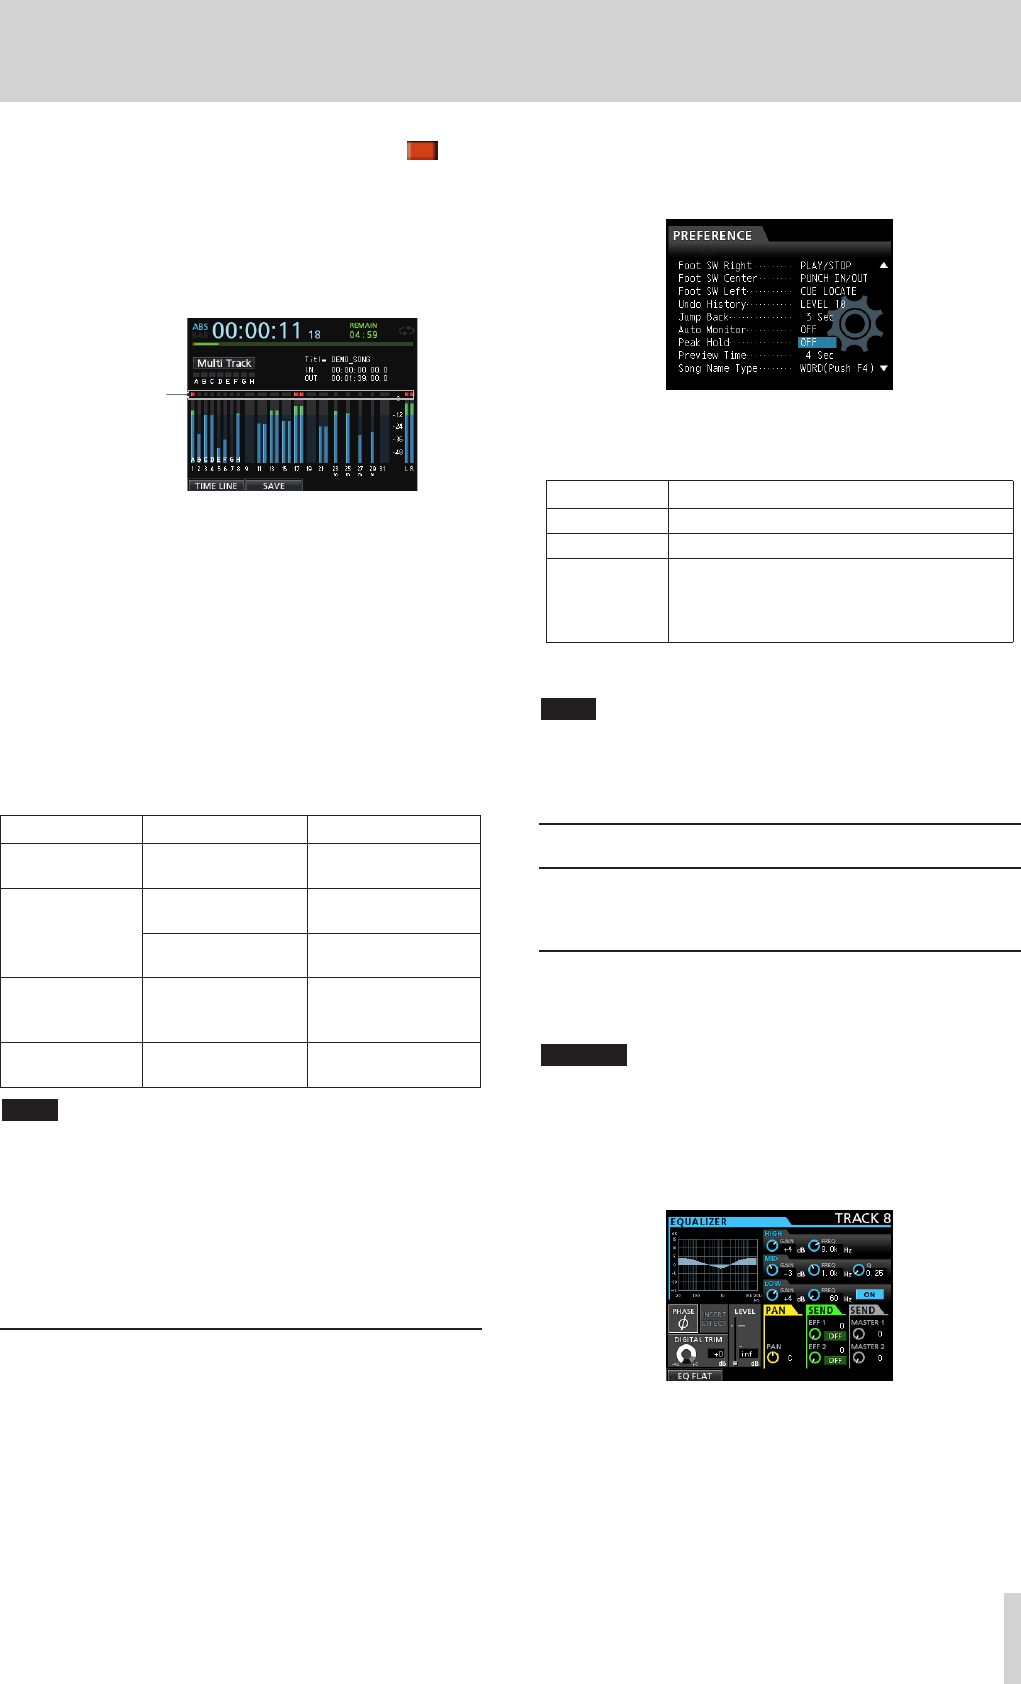
Peak hold display
Using the peak hold function , you can set how long peak levels
are shown on the level meters on the Home Screen and other
screens.
1. When the recorder is stopped, press the MENU button to
open the
MENU
screen.
2. Use the JOG/DATA dial or the CURSOR (5/b/g/t)
buttons to select
PREFERENCE
, and then press the F4 (t)
button.
3. Use the CURSOR (5/b) buttons to select the
Peak Hold
item, and then use the JOG/DATA dial to
change the setting.
Option Function
OFF
(default) Peak value is not shown.
1 Sec
Peak value is shown for about one second.
KEEP
In mastering mode, the peak value is cleared
when you locate a new time.
In all other modes, press the F3 [PEAK
CLEAR] button to clear the peak value.
4. After making the settings, press the HOME button to return
to the Home screen.
TIP
When you are unable to monitor the meters continuously (when
playing, for example), use the
KEEP
setting to check the highest
level so far.
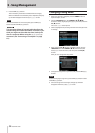
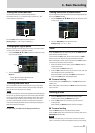
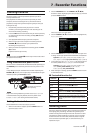
Mixer screen settings
Press the SOURCE button for an input or press the SELECT
button for a track to adjust its EQ and other settings.
Using the input equalizer
INPUTS A to H and tracks 1 to 31/32 have independent 3-band
EQs (equalizers).
CAUTION
The effect of the input equalizer will be recorded. If you
plan to make EQ adjustments during mixdown, turn
input equalizers OFF and turn track equalizers ON.
Adjust the equalizer settings on the Mixer screen.
1. Press the MIXER button to open the Mixer screen.
2. Press the SOURCE button of an INPUT (A to H) or the
SELECT button of a track to open the Mixer screen with the
corresponding equalizer.


Find Your Products By Category
Please Login
