
0
Owner's of the Tascam MP3 Player DP-32SD 32-Track Digital Portastudio gave it a score of 0 out of 5. Here's how the scores stacked up:

TASCAM DP-32SD 39
6 - Basic Recording
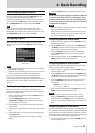
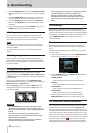
Setting input levels
After making the settings, press the PLAY (t) button to start
playback.
Just as though you were recording, you can monitor the sound
of the already recorded tracks being played back and the input
sources on the tracks for recording, allowing you to check the
monitoring balance and volume.
Recording
Press the RECORD (0) button to start recording to another
track while monitoring the playback signal.
Undoing an operation
This unit allows you to undo an operation or recording that
was not successful or satisfactory. Many ordinary operations,
including editing and recording, can be canceled (undone).
This unit has two types of undo functions. Single undo can
be performed by a simple button press, while multiple undo
allows you to return to a specific past operation and undo the
operations that occurred after it.
You can use the undo functions for the following types of
operations.
•
Track editing (functions described in this chapter)
•
Recording (including track bouncing)
•
Automatic punching in/out
•
Track type setting
All these operations are stored on the SD card as song
information. Even when you turn the unit off (put it in standby),
the previous operations are stored and can be undone when
you turn the unit on again.
When listening to a part that you replaced in your last recording,
for example, you might find that the previous take was better.
In such a case, you can use the undo function to easily get your
previous take back.
NOTE
•
The UNDO/REDO button lights when a single undo or multiple
undo has been performed.
•
When you change the track type, the assignment is turned OFF
and any recorded track is deleted. If you undo this, the recorded
track will be restored and the track type changed back, but the
assignment setting will not be restored. (See “Setting the track
type” on page 33.)
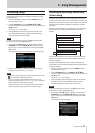
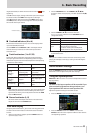
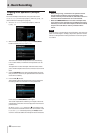
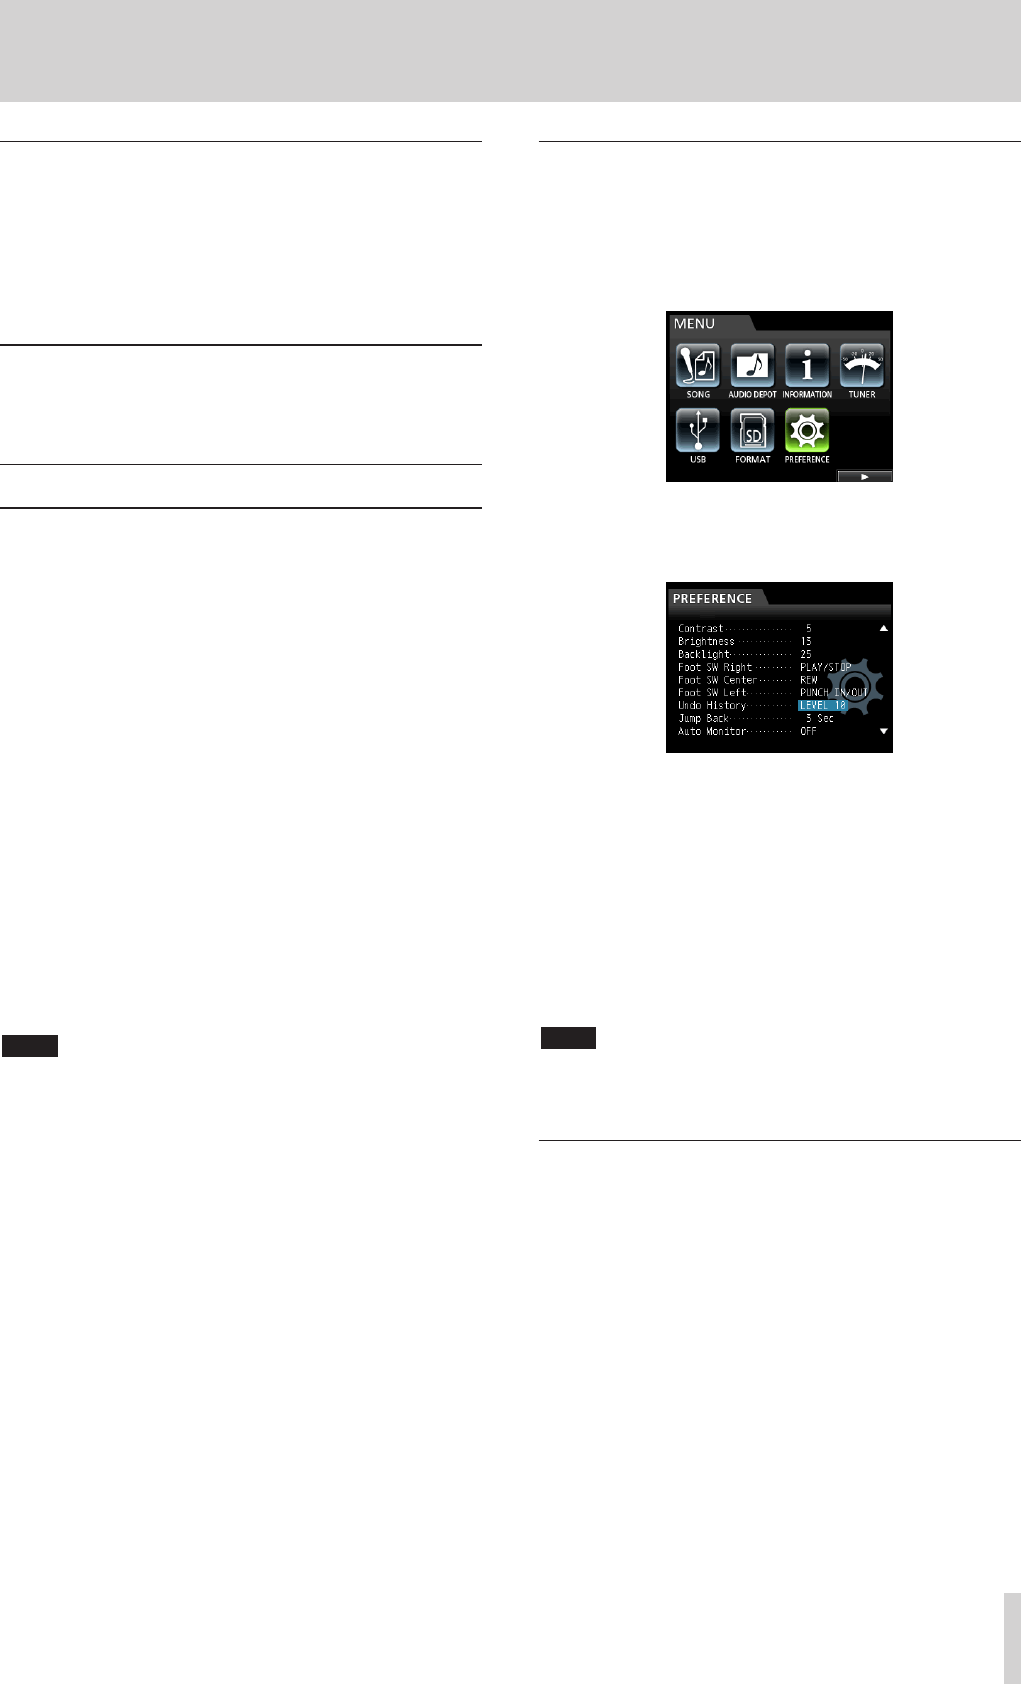
Undo feature settings
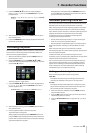
1. When the recorder is stopped, press the MENU button to
open the
MENU
screen.
2. Use the JOG/DATA dial or the CURSOR (5/b/g/t)
buttons to select (highlight green)
PREFERENCE
, and then
press the F4 (t) button.
The
PREFERENCE
menu screen opens.
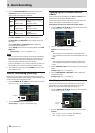
3. Use the CURSOR (5/b) buttons to select (highlight blue)
Undo History
.
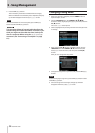
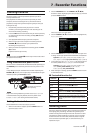
4. Set the undo level.
LEVEL 1 (Default)
The
HISTORY LIST
is not displayed when you press the
UNDO/REDO button. In other words, this returns the unit to
the state before the last operation (single undo). (To cancel
an undo, press the UNDO/REDO button again.)
LEVEL 10
When you press the UNDO/REDO button, the
HISTORY LIST
appears and you can return to the state to
10 operations earlier.
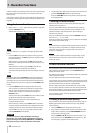
NOTE
Even when you change from
LEVEL 10
to
LEVEL 1
, the history
for a maximum of 10 actions remains stored. The position of the
cursor in the HISTORY LIST shows the current undo position.
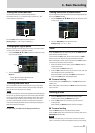
Undoing the last operation (single undo)
Press the UNDO/REDO button to return to the state before the
last operation.
After doing this, the UNDO/REDO button lights, showing that
redo (see below) is possible.
ª
Canceling an undo operation (redo)
Press the UNDO/REDO button when it is lit.
The undone operation is redone, restoring the state before the
undo, and the UNDO/REDO button becomes unlit.


Find Your Products By Category
Please Login
