
0
Owner's of the Tascam MP3 Player DP-32SD 32-Track Digital Portastudio gave it a score of 0 out of 5. Here's how the scores stacked up:

TASCAM DP-32SD 45
7 - Recorder Functions
3. Use the CURSOR (5/b) buttons to select (highlight
blue)
Jump Back
, then use the JOG/DATA dial to set the
jumpback time.
Options:
1 Sec
to
10 Sec
,
20 Sec
,
30 Sec
(default:
3 Sec
)
4. After making the setting, press the HOME button to return
to the Home screen.
5. Press the JUMPBACK button during playback to move back
by the time set in step 3.
Previewing cue points
You can preview playback to check whether it is cued correctly.
This function can be used to preview audio both before and
after the current playback position.
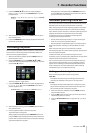
1. When the recorder is stopped, press the MENU button to
open the
MENU
screen.
2. Use the JOG/DATA dial or the CURSOR (5/b/g/t)
buttons to select (highlight green)
PREFERENCE
, and then
press the F4 (t) button.
The
PREFERENCE
screen opens.
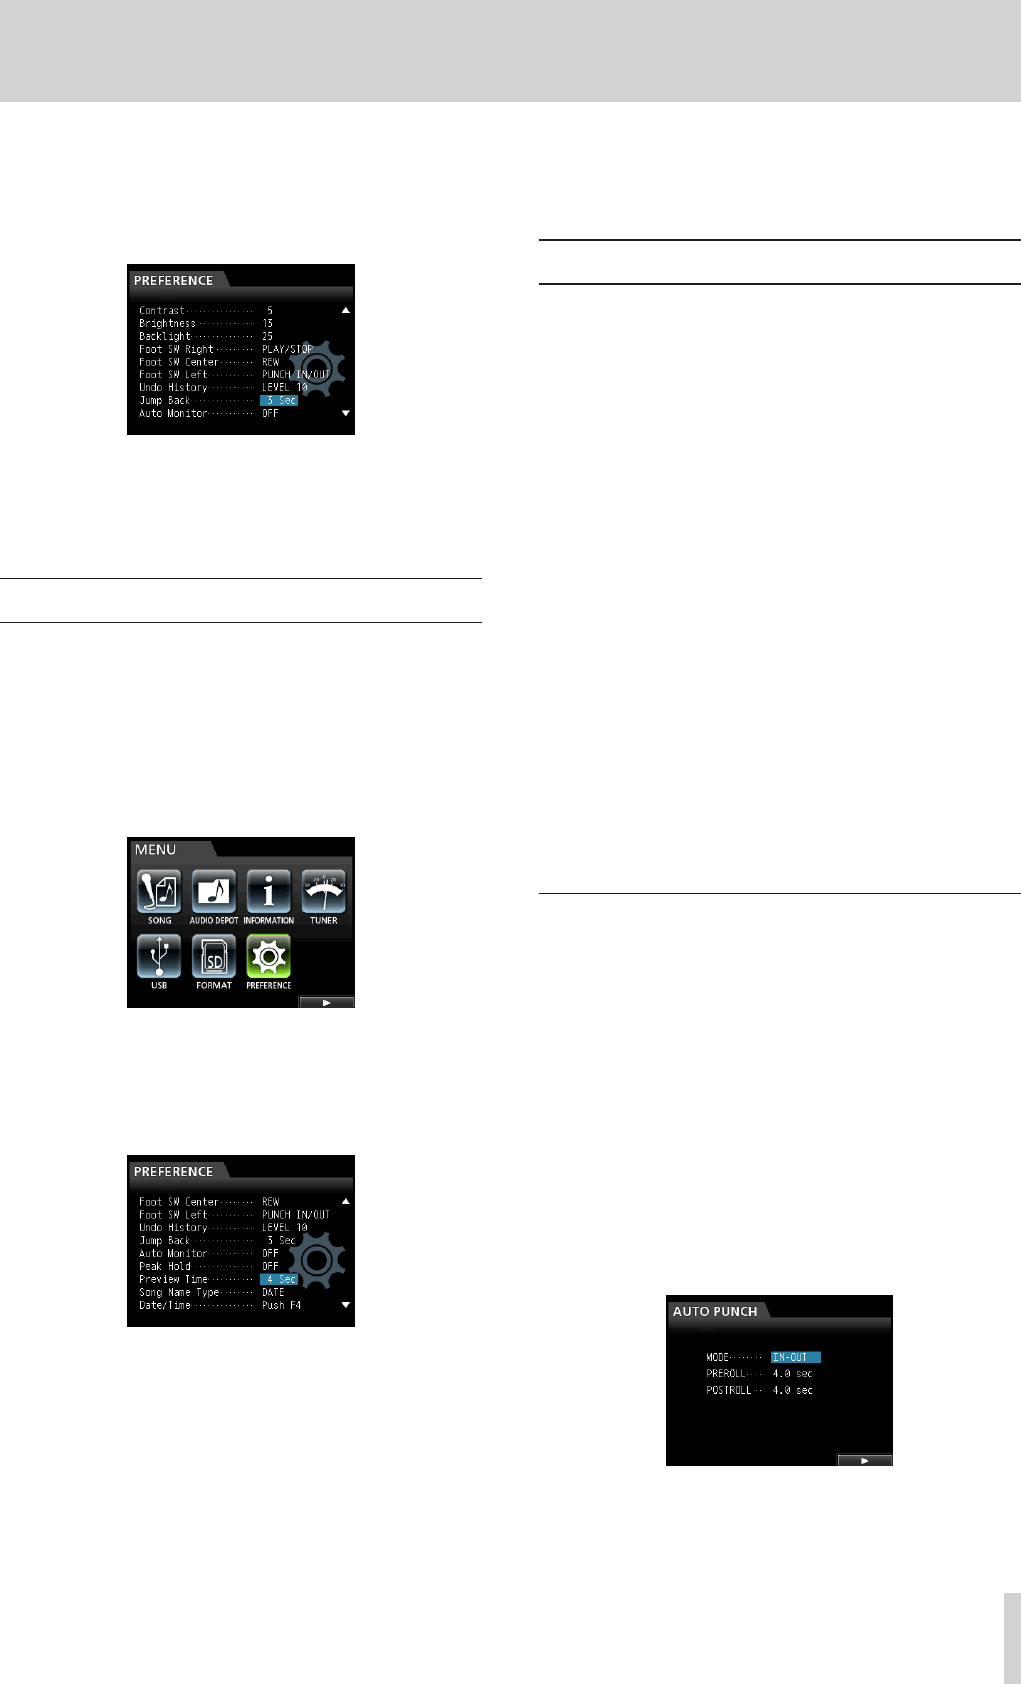
3. Use the CURSOR (5/b) buttons to select (highlight blue)
Preview Time
, then use the JOG/DATA dial to set the
preview playback time.
Preview Time:
1 Sec
to
10 Sec
(default:
4 Sec
)
4. After making the setting, press the HOME button to return
to the Home screen.
5. Preview playback before or after the cue point.
To preview after the cue point:
While playback is stopped, hold the PREVIEW button and
press the OUT button to play from the current point for the
preview time, and then return to the current point and stop.
To preview before the cue point:
While playback is stopped, hold the PREVIEW button and
press the IN button to skip back the preview time and then
play to the current time and stop.
Automatic punching in and out
You can use the punch in/out function to automatically record
between punch-in and punch-out points set in advance.
When using auto punch in/out recording, playback starts from
the pre-roll point before the punch-in point where recording
starts. Once the punch-out point is reached, recording ends, but
playback continues for the post-roll time and then stops.
In automatic punch in/out recording, monitoring of the
recording tracks changes as follows.
•
Pre-roll period: Track playback signal + input source signal
•
Punch in–out interval: Input source signal
•
Post-roll period: Track playback signal + input source signal
Tracks not armed for recording can be monitored the entire
time.
When using this auto punch in/out function, the above
monitoring changes occur not only during actual recording, but
also in the Rehearsal mode.
In Rehearsal mode, you can simulate auto punch in/out
recording, so you can rehearse your performance and also check
whether the IN and OUT points are set correctly.
You can also use punch in/out in with the repeat function. By
using these functions together, you can repeatedly rehearse
punch in/out recording, or record multiple takes of the same
section, letting the unit work automatically. After recording
multiple takes, you can choose the best one.
Setting punch-in/out points
There are two ways to set the punch-in/out points.
LAST REC:
This option sets the starting and ending points of the last
recording (or rehearsal) as the punch in and out points.
IN - OUT:
This option sets the IN and OUT points as the punch-in/out
points. The first of these points will be used as the punch-in
point and the second as the punch-out point.
1. When the recorder is stopped, press the HOME button to
open the Home screen.
2. Press the REC button for the track(s) on which you want to
automatically punch in and out.
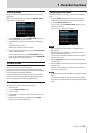
3. Press the AUTO PUNCH button to open the
AUTO PUNCH
screen.


Find Your Products By Category
Please Login
