
0
Owner's of the Tascam MP3 Player DP-32SD 32-Track Digital Portastudio gave it a score of 0 out of 5. Here's how the scores stacked up:

66 TASCAM DP-32SD
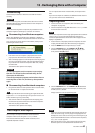
13 - Exchanging Data with a Computer
7. Use the JOG/DATA dial or the CURSOR (5/b) buttons to
select the track to be imported, and then press the F4 (t)
button.
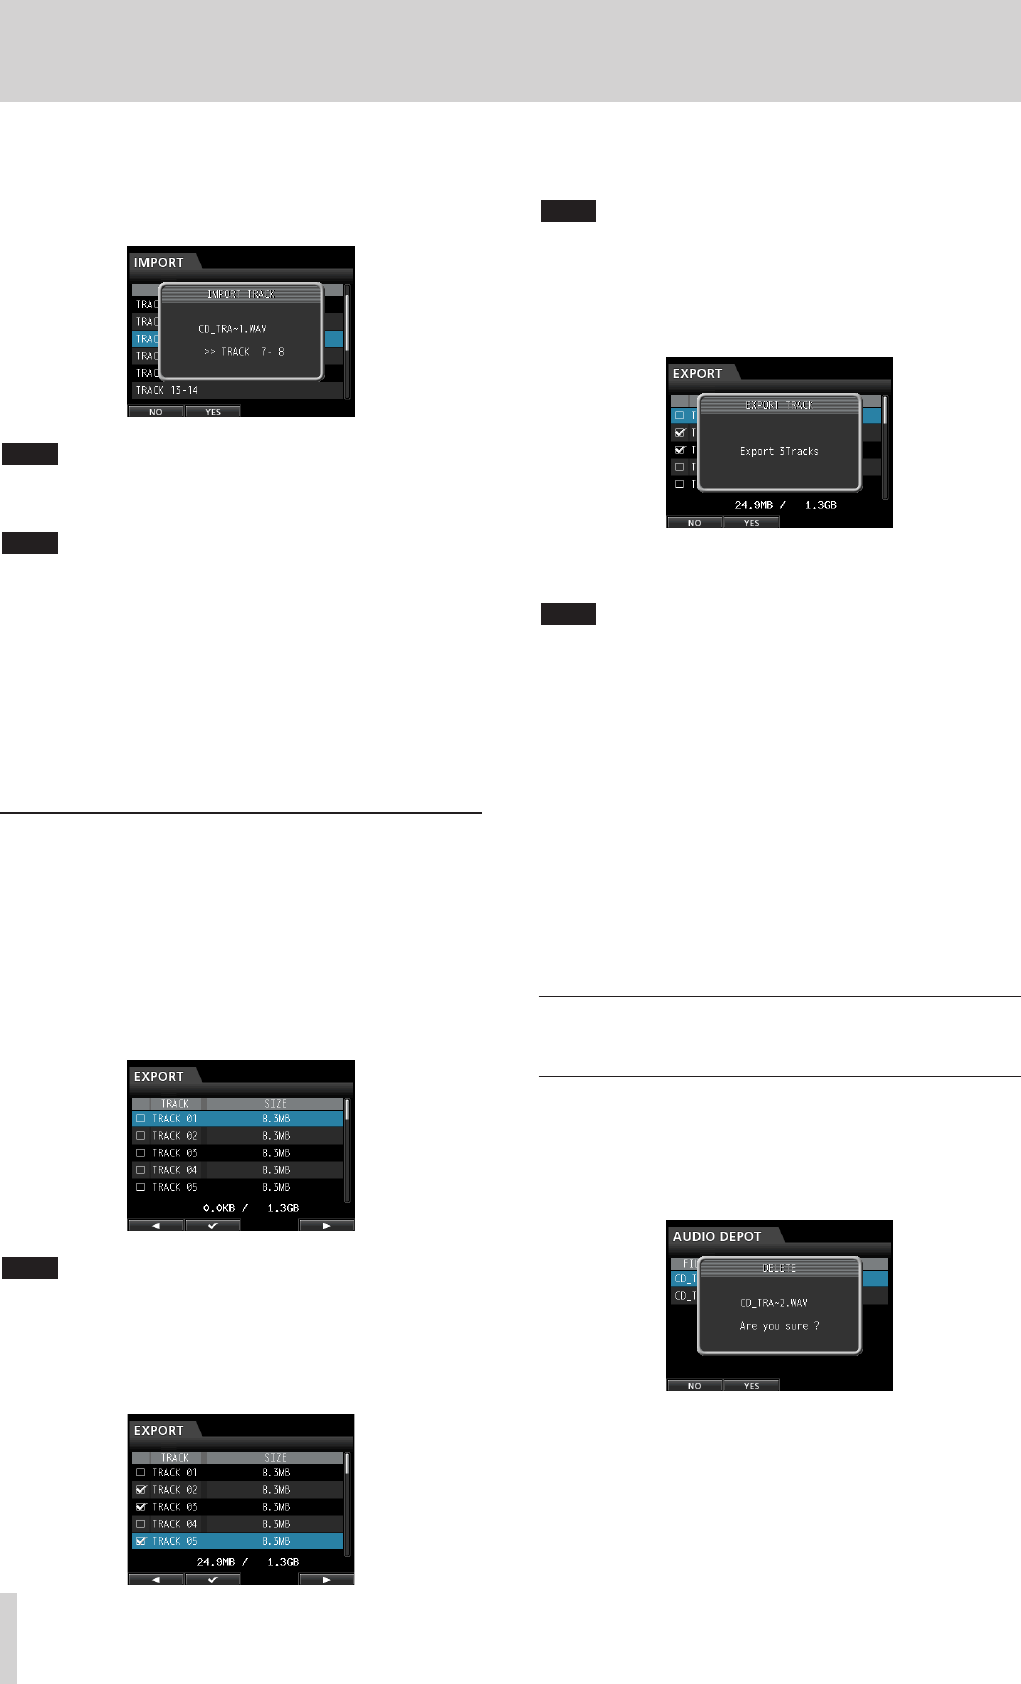
A confirmation message appears.
NOTE
If the WAV file to be imported is stereo, you must select a track pair.
8. Press the F2 (
YES
) button to start importing the file.
NOTE
•
If there is not enough space or the file format is wrong, an error
message appears.
•
The beginning of the file is set at the start of the song
(
00:00:00:00
). In the same way as with other recording
tracks, you can edit a track with an imported file. (See “Overview
of track editing” on page 48.)
•
To import a stereo WAV file, an empty stereo track is necessary.
9. Once importing completes, a pop-up window appears and
then the
Audio Depot
screen reopens.
10. Press the HOME button to return to the Home screen.
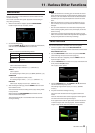
Exporting tracks
1. When the recorder is stopped, press the MENU button to
open the
MENU
screen.
2. Use the JOG/DATA dial or the CURSOR (5/b/g/t)
buttons to select (highlight green)
AUDIO DEPOT
, and
then press the F4 (t) button.
3. Press the F2 (
EXPORT
) button.
The
EXPORT
screen opens showing a list of tracks that
contain audio data.
NOTE
Song tracks that do not have audio data are not displayed in the file list.
4. Use the JOG/DATA dial to select (highlight blue) the track
that you want to export, and then press the F2 (4) button.
A check mark 4 appears in the box next to the selected
track.
By checking multiple boxes (4), you can export more than
one track at once.
NOTE
To remove a check mark 4 from a box, press the F2 (4) button
again while the track is selected (highlighted blue).
5. After you finish putting checks (4) next to the tracks you
want to export, press the F4 (t) button.
A confirmation message appears.
6. Press the F2 (
YES
) button to export the selected track to the
AudioDepot folder.
NOTE
When a track file with the same name already exists in the
AudioDepot folder, a number is added to the file name end, so the
existing track is not overwritten.
7. After a pop-up message appears, the
Audio Depot
screen
reopens.
8. Press the HOME button to return to the Home screen.
9. Connect the unit to a computer. (See “Connecting to a
computer” on page 64.)
10. Operate the computer to copy track files from the
AudioDepot folder of the SD card to the computer.
11. After exporting track files to the computer, disconnect the
unit from the computer using the proper procedures, and
then unplug the USB cable. (See “Disconnecting” on page
65.)
Deleting files from the AudioDepot
folder
1. When the file list is displayed, use the JOG/DATA dial or the
CURSOR (5/b) buttons to select the files that you want to
delete.
2. Press the F3 (
DELETE
) button to open a confirmation
message.
3. Press the F2 (
YES
) button to confirm deletion.
If you want to delete multiple files, repeat the procedure
above.


Find Your Products By Category
Please Login
