
0
Owner's of the Tascam VCR DR-70D 4-Channel Audio Recorder for DSLR Cameras gave it a score of 0 out of 5. Here's how the scores stacked up:

TASCAM DR-70D
15
3 – Preparation
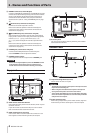
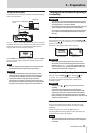
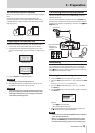
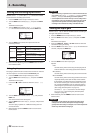
SD card write protection switches
SD cards have protect switches that prevent writing new data to
them.
If you slide the protect switch to the LOCK position, file
recording and editing is not possible. Move the switch to the
unlocked position in order to record, erase and otherwise edit
data on the card.
Writing possible Writing not possible
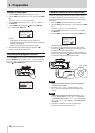
Preparing an SD card for use
In order to use an SD card in this unit, you must format it first.
1. Confirm that an SD card is loaded and turn the unit on.
2. A message like one of the following appears when a new
card or a card formatted by another device is installed in the
unit.
SD/SDHC card
SDXC card
3. Press the DATA dial to start formatting.
CAUTION
Formatting a card erases all the data on it.
4. When formatting ends, the Home Screen opens. You can
also reformat a card in this unit at any time.
CAUTION
When formatting a card, the unit should be operating on
AC power supplied by a TASCAM PS-P515U adapter (sold
separately), USB bus power from a computer or batteries
with sufficient remaining power.
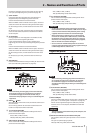
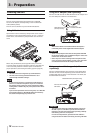
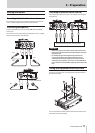
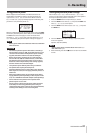
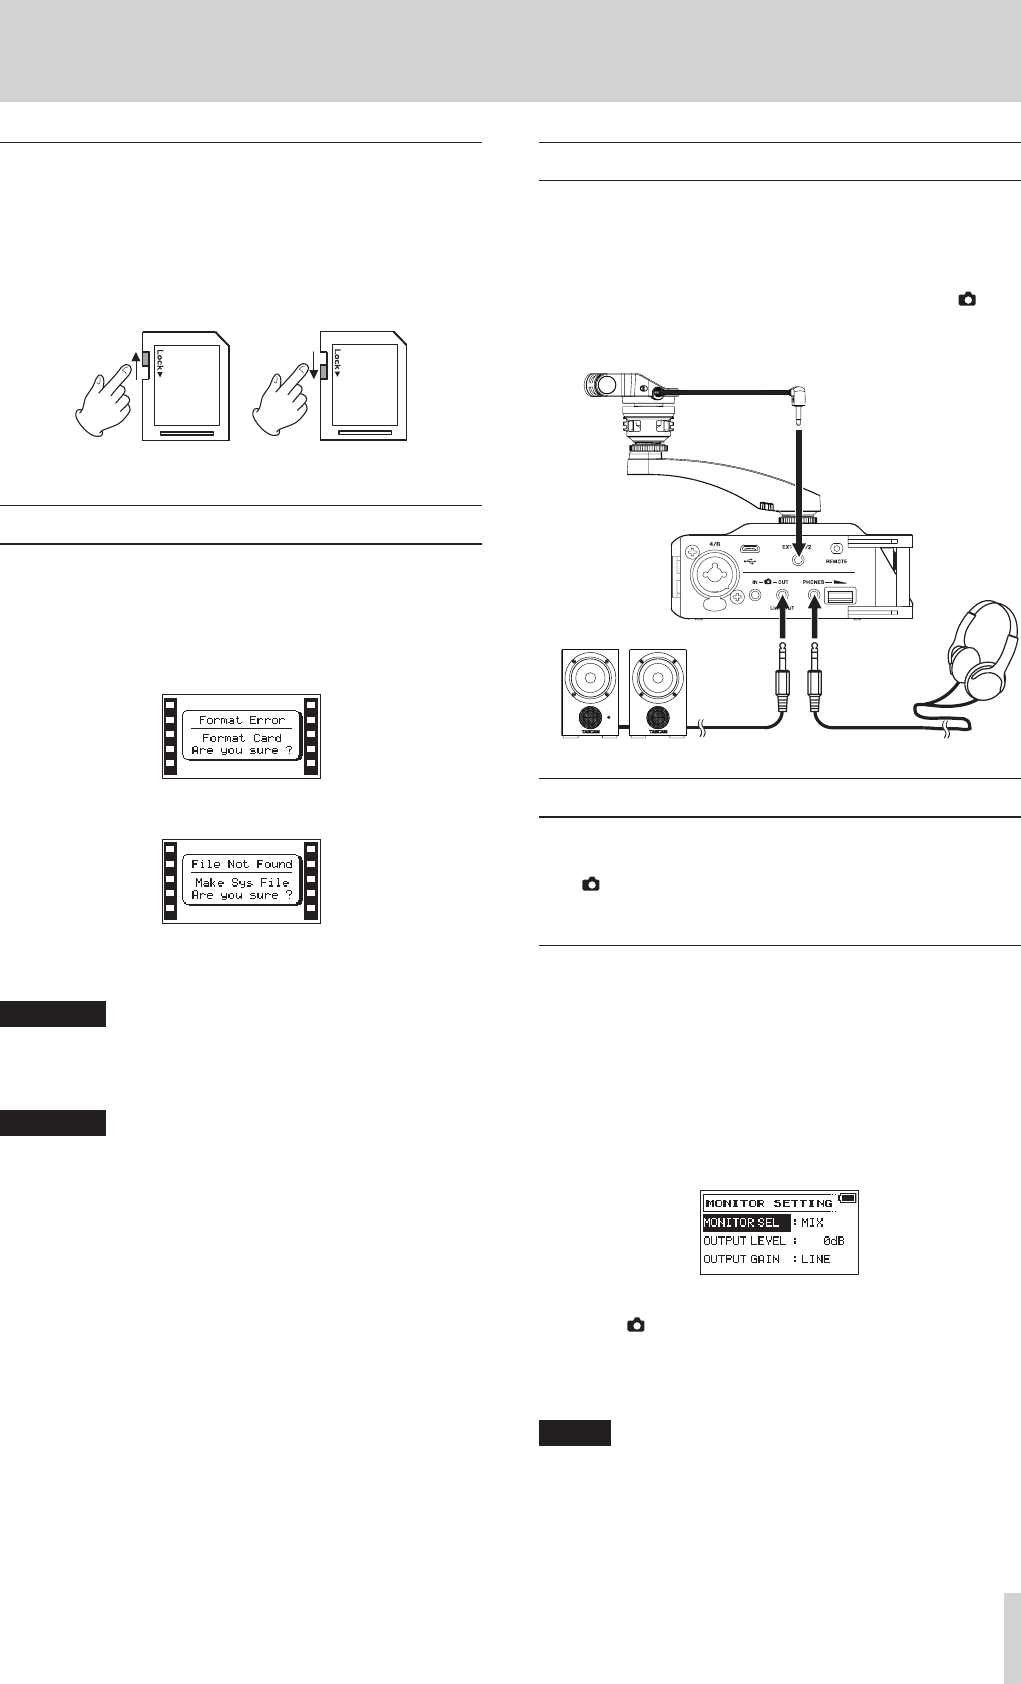
Connecting monitoring equipment
Connect an external stereo mic to the EXT IN 1/2 jack on the
right side of the unit.
To listen with headphones, connect them to the PHONES jack.
To listen with an external monitoring system (powered monitor
speakers or an amplifier and speakers), connect it to the OUT/
LINE OUT jack.
Powered monitor
speakers or
amplifier and
speakers
External mic
Headphones
Monitoring
You can monitor the input signals when the unit is stopped
using headphones, for example. Moreover, by connecting this
unit’s IN jack with the camera line output, you can check the
sound being recorded by the camera.
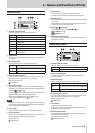
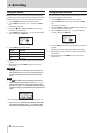
Selecting the monitored signal
1. Press the MENU button to open the
MENU
screen.
2. Turn the DATA dial to select
MONITOR
, and press the DATA
dial.
The
MONITOR SETTING
screen opens.
3. Turn the DATA dial to select
MONITOR SEL
, and press
the DATA dial.
4. Turn the DATA dial to select the sound to monitor, and press
the DATA dial.
Options
CAM: IN jack sound input
MIX (default): Mix of all inputs
5. When finished selecting the monitoring signal, press the
1/8 button to return to the Home Screen.
NOTE
•
You can also press and hold the DATA dial when stopped to
switch the signal monitored.
•
When
CAM
is selected, you can monitor the input sound
through the PHONES jack, but the level meters will show
the input sound according to the current recording mode.


Find Your Products By Category
Please Login
