
0
Owner's of the Tascam VCR DR-70D 4-Channel Audio Recorder for DSLR Cameras gave it a score of 0 out of 5. Here's how the scores stacked up:

32
TASCAM DR-70D
7 – Connecting with a Computer
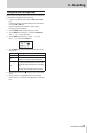
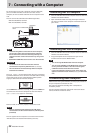
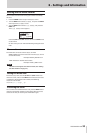
By connecting this unit with a computer using the USB cable,
you can transfer audio files on the SD card in the unit to a
computer, as well as transfer audio files on the computer to the
card.
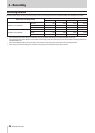
This unit can handle audio files of the following formats.
WAV: 44.1/48/96kHz, 16/24-bit
BWF: 44.1/48/96kHz, 16/24 bit
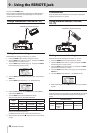
Connect the included USB
cable
microB USB plug
Computer
NOTE
•
Instead of using USB to connect the unit and a computer,
you can also conduct the same operations by removing
the SD card from the unit and connecting it directly to a
computer that has a built-in SD card slot or by using a card
reader.
•
Both WAV and BWF files uses the same “.wav” file extension.
CAUTION
•
You cannot use this unit’s other functions when it is
connected to a computer by USB and set to
STORAGE
.
•
The unit should be connected directly with the computer
instead of via a USB hub.
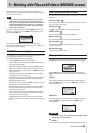
The
USB SELECT
screen appears when the unit is connected
by USB and when the unit is turned on if the USB cable is already
connected. On this screen, choose between USB bus power
supply or USB connection with the computer.
Use the DATA dial to select
STORAGE
, and press the DATA dial
to connect the unit with the computer for data transmission.
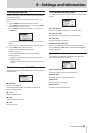
USB connected
appears in the display.
Make sure that an SD card is properly inserted in the unit.
NOTE
Power is supplied from the USB port if the USB cable is
connected to a unit that contains batteries. (USB bus power
prioritized).
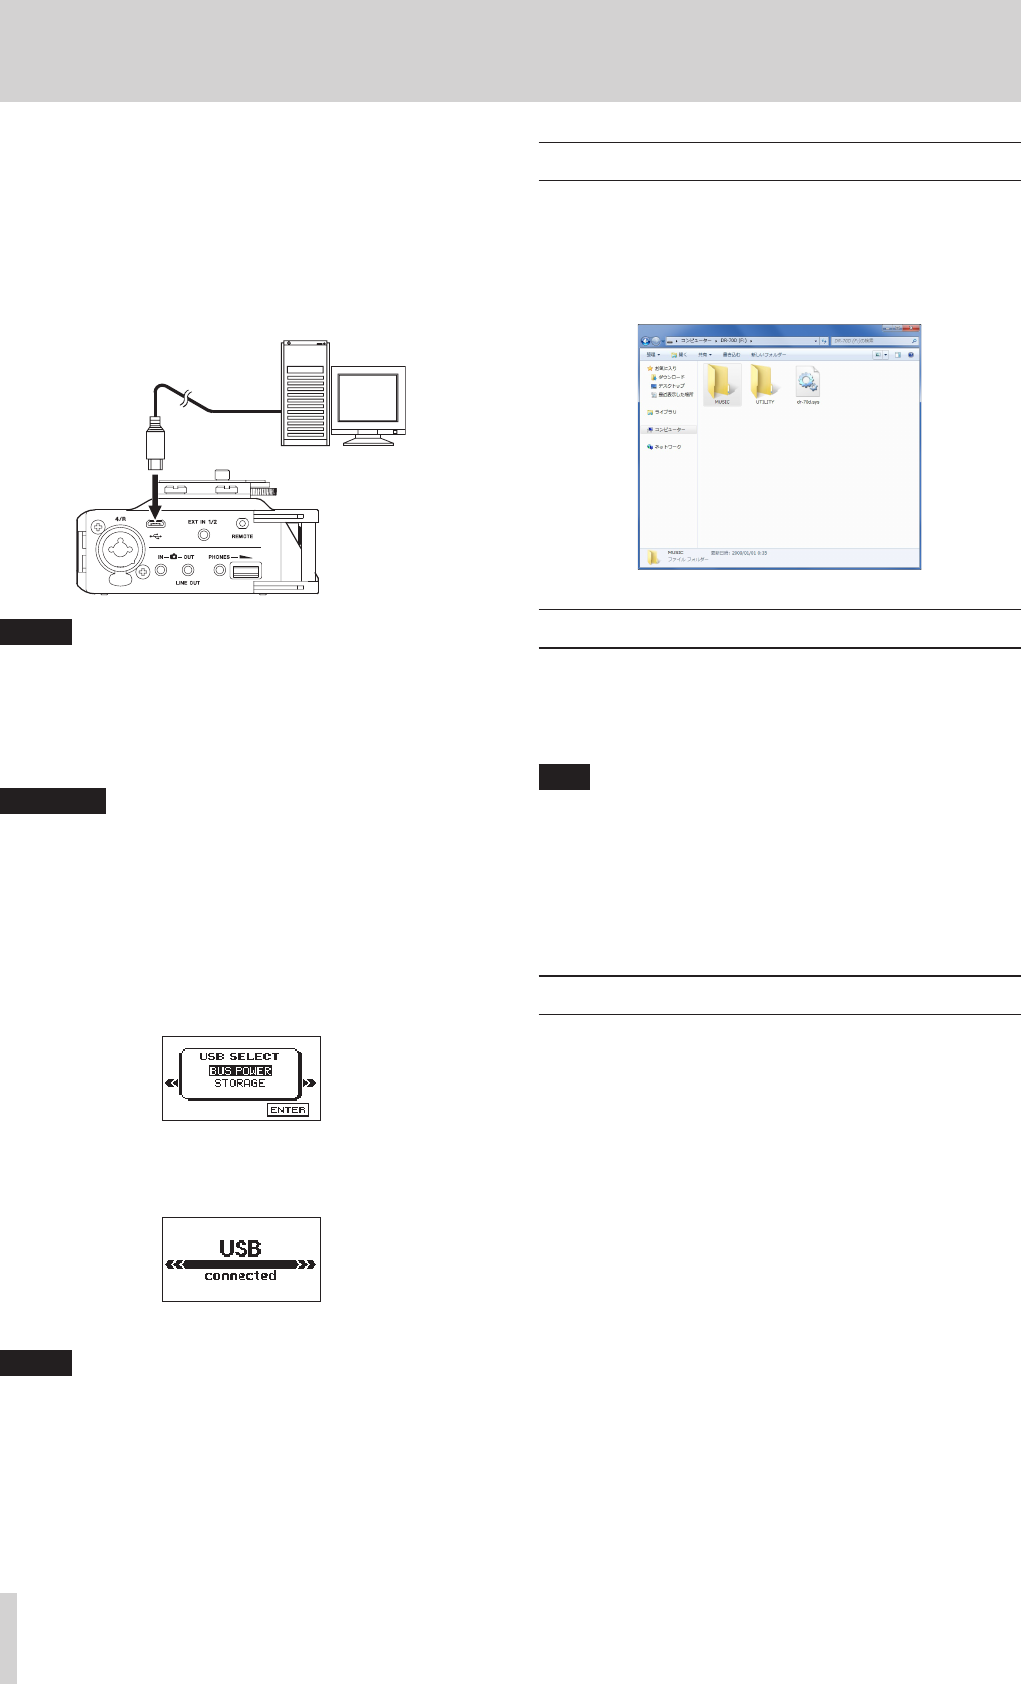
This unit appears on the computer as an external drive named
“DR-70D” (if the card has been formatted by this unit).
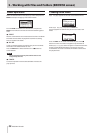
Transferring files to a computer
1. Click the “DR-70D” drive on the computer screen to show the
“MUSIC” and “UTILITY” folders.
2. Open the “MUSIC” folder and drag and drop the files that
you want to transfer to the computer to the destinations of
your choice.
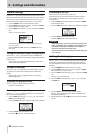
Transferring files from a computer
1. Click the “DR-70D” drive on the computer screen to show the
“MUSIC” and “UTILITY” folders.
2. Drag and drop files on the computer that you want to
transfer to the unit to the “MUSIC” folder.
TIP
•
You can manage the MUSIC folder from the computer.
•
You can create subfolders in the MUSIC folder. The unit can
use only two levels of folders. The unit cannot recognize
subfolders and files on the third level or below.
•
If you name subfolders and music tracks, these names will
appear on the Home Screen and the
BROWSE
screen of the
unit.
Disconnecting from a computer
Before disconnecting the USB cable, use the proper procedures
for your computer to unmount the unit.
The unit turns off (enters standby) after it completes its
shutdown process.
See the computer’s operation manual for instructions about
how to unmount an external device.


Find Your Products By Category
Please Login
