
0
Owner's of the Tascam VCR DR-70D 4-Channel Audio Recorder for DSLR Cameras gave it a score of 0 out of 5. Here's how the scores stacked up:
20
TASCAM DR-70D
4 – Recording
Setting the recording input source
Use the
INPUT 1/2
and
INPUT 3/4
items on the BASIC
screen to set the recording input source.
1. Press the MENU button to open the
MENU
screen.
2. Turn the DATA dial to select
BASIC
, and press the DATA
dial.
The BASIC screen opens.
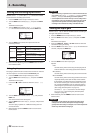
3. Turn the DATA dial to select
INPUT 1/2
or
INPUT
3/4
for the selected channel, and press the DATA dial.
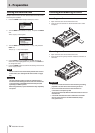
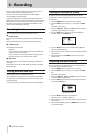
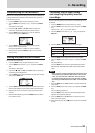
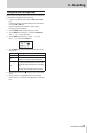
CH1 BASIC screen
4. Turn the DATA dial to select the input source for the
recording channel.
Item Option Meaning
INPUT 1/2
EXT STEREO
(default)
Input from the EXT 1/2 jack
EXT POWER
Input from the EXT 1/2 jack
(plug-in power on)
XLR/TRS Input from the 1/L and 2/R jacks
INPUT 3/4
MIC (default) Input from the built-in mic
XLR/TRS Input from the 3/L and 4/R jacks
5. When finished adjusting, press the MENU button to return
to the Home Screen.
Using plug-in power
The plug-in power function can be turned on when an external
mic that requires it is connected to the EXT IN 1/2 jack.
1. Press the MENU button to open the
MENU
screen.
2. Turn the DATA dial to select
BASIC
, and press the DATA
dial.
The BASIC screen opens.
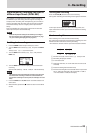
3. Press the 1/8 or 2/7 button to show the
INPUT 1/2
item.
4. Turn the DATA dial to select
INPUT 1/2
, and press the
DATA dial.
The cursor moves to the setting item.
5. Turn the DATA dial to set it to
EXT_POWER
, and press the
DATA dial.
This turns plug-in power on. A different setting item can
now be selected.
6. When finished, press the MENU button to return to the
Home Screen.
CAUTION
•
When connecting a dynamic mic or external mic that has its
own battery, set
INPUT 1/2
to
EXT_STEREO
. Setting
it to
EXT_POWER
could damage such microphones.
•
Use headphones to monitor when you are recording with a
microphone. If you use speakers for monitoring, the sound
output from the speakers could be picked up by the mic,
resulting in its unwanted recording or feedback noise.
Setting the input gain
Set the
INPUT GAIN
item on the INPUT screen according to
the type of equipment connected.
1. Press the MENU button to open the
MENU
screen.
2. Turn the DATA dial to select
INPUT
, and press the DATA
dial.
The INPUT screen opens.
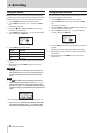
3. Press the 1/8, 2/7, 3// or 4/. button to select the
channel for input gain setting.
4. Turn the DATA dial to select
INPUT GAIN
for the selected
channel, and press the DATA dial.
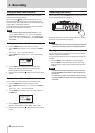
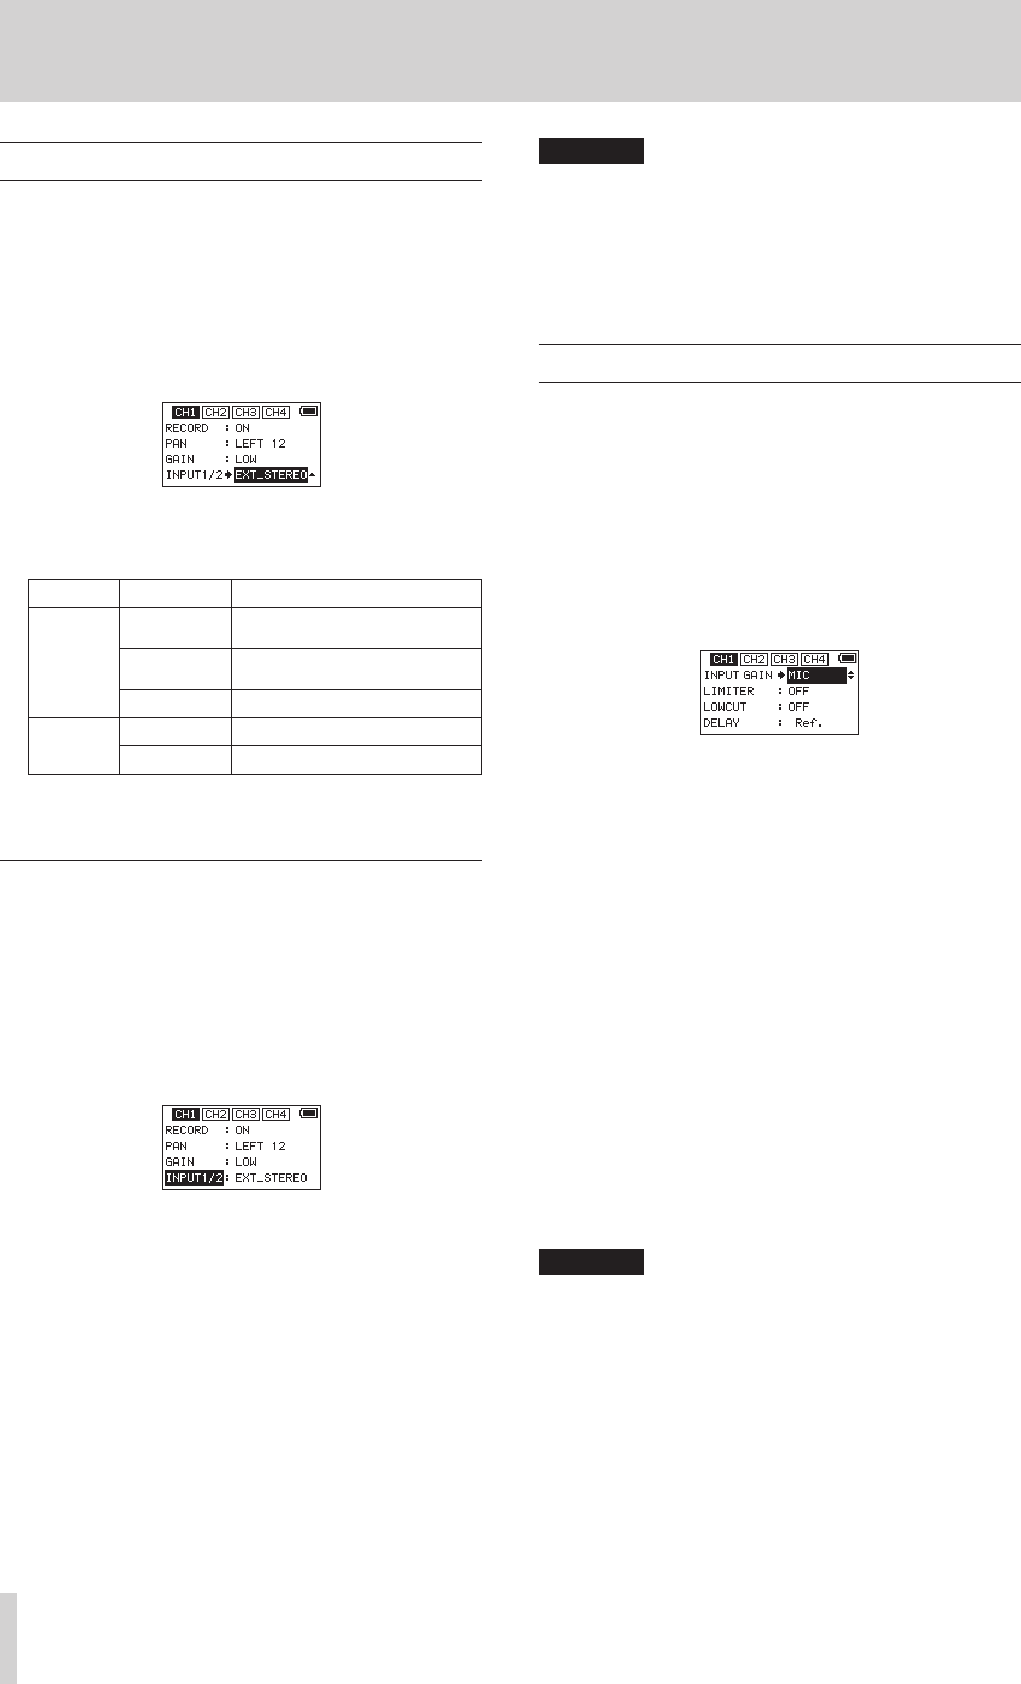
CH1 INPUT screen
5. Turn the DATA dial to set the input gain.
Options
LINE:
Use this setting when connecting line output jacks of
external devices to the analog inputs of this recorder.
MIC (default):
Use this setting when connecting mics to the recorder.
MIC+PHANTOM:
Use this setting when connecting condenser mics that
require phantom power (24V or 48V) to the recorder.
If the INPUT1/2 or INPUT3/4 item on the BASIC screen
for the channel being set is set to XLR/TRS, when you
set it to MIC+PHANTOM, a pop-up message appears
confirming that you want to turn phantom power on.
(See “Using phantom power” on page 21.)
Use the
MIC SETTING
screen to set the voltage
to
24V
or
48V
. (See “Setting the phantom power
voltage” on page 21.)
6. When finished, press the MENU button to return to the
Home Screen.
CAUTION
Depending on this setting, the input level setting range
changes. For this reason, the input level might change
greatly when this setting is changed, so turn the output level
all the way down before changing it.


Find Your Products By Category
Please Login
