
0
Owner's of the Tascam VCR DR-70D 4-Channel Audio Recorder for DSLR Cameras gave it a score of 0 out of 5. Here's how the scores stacked up:
26
TASCAM DR-70D
4 – Recording
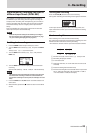
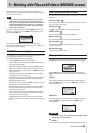
Using the auto tone function
The function can be used to automatically add a tone when
beginning and ending recordings.
By connecting the OUT jack on the right side of the unit
to the camera audio input jack, the same tone signal can be
recorded to both files. These tones can be used as guides when
aligning files in video editing software.
For details about how to connect a DSLR camera, see “Camera
connection and attachment” on page 16.
NOTE
If the volume is still too low even if you set the
OUTPUT
LEVEL
item on the
MONITOR SETTING
screen to
its maximum value, set the
OUTPUT GAIN
item on the
MONITOR SETTING
screen to
LINE
and then adjust
the volume.
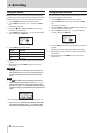
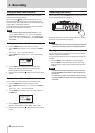
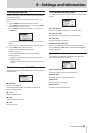
Setting the auto tone function
1. Press the MENU button to open the
MENU
screen.
2. Turn the DATA dial to select
SLATE
, and press the DATA
dial.
The
SLATE SETTING
screen appears.
3. Turn the DATA dial to select
AUTO TONE
, and press the
DATA dial.
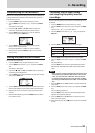
4. Turn the DATA dial to select the tone insertion points.
Options: OFF (default), HEAD (start of recording only),
HEAD+TAIL (start and end of recording)
5. When finished, press the 1/8 button to return to the Home
Screen.
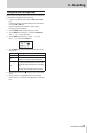
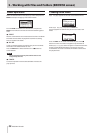
Set the volume of auto and slate tones
You can adjust the volume setting of auto and slate tones.
1. Press the MENU button to open the
MENU
screen.
2. Turn the DATA dial to select
SLATE
, and press the DATA
dial.
The
SLATE SETTING
screen appears.
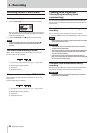
3. Turn the DATA dial to select
TONE VOLUME
, and press
the DATA dial.
4. Turn the DATA dial to set the tone volume.
Options: –12dB (default), –18dB, –24dB, –30dB, –36dB
5. When finished, press the 1/8 button to return to the Home
Screen.
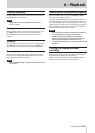
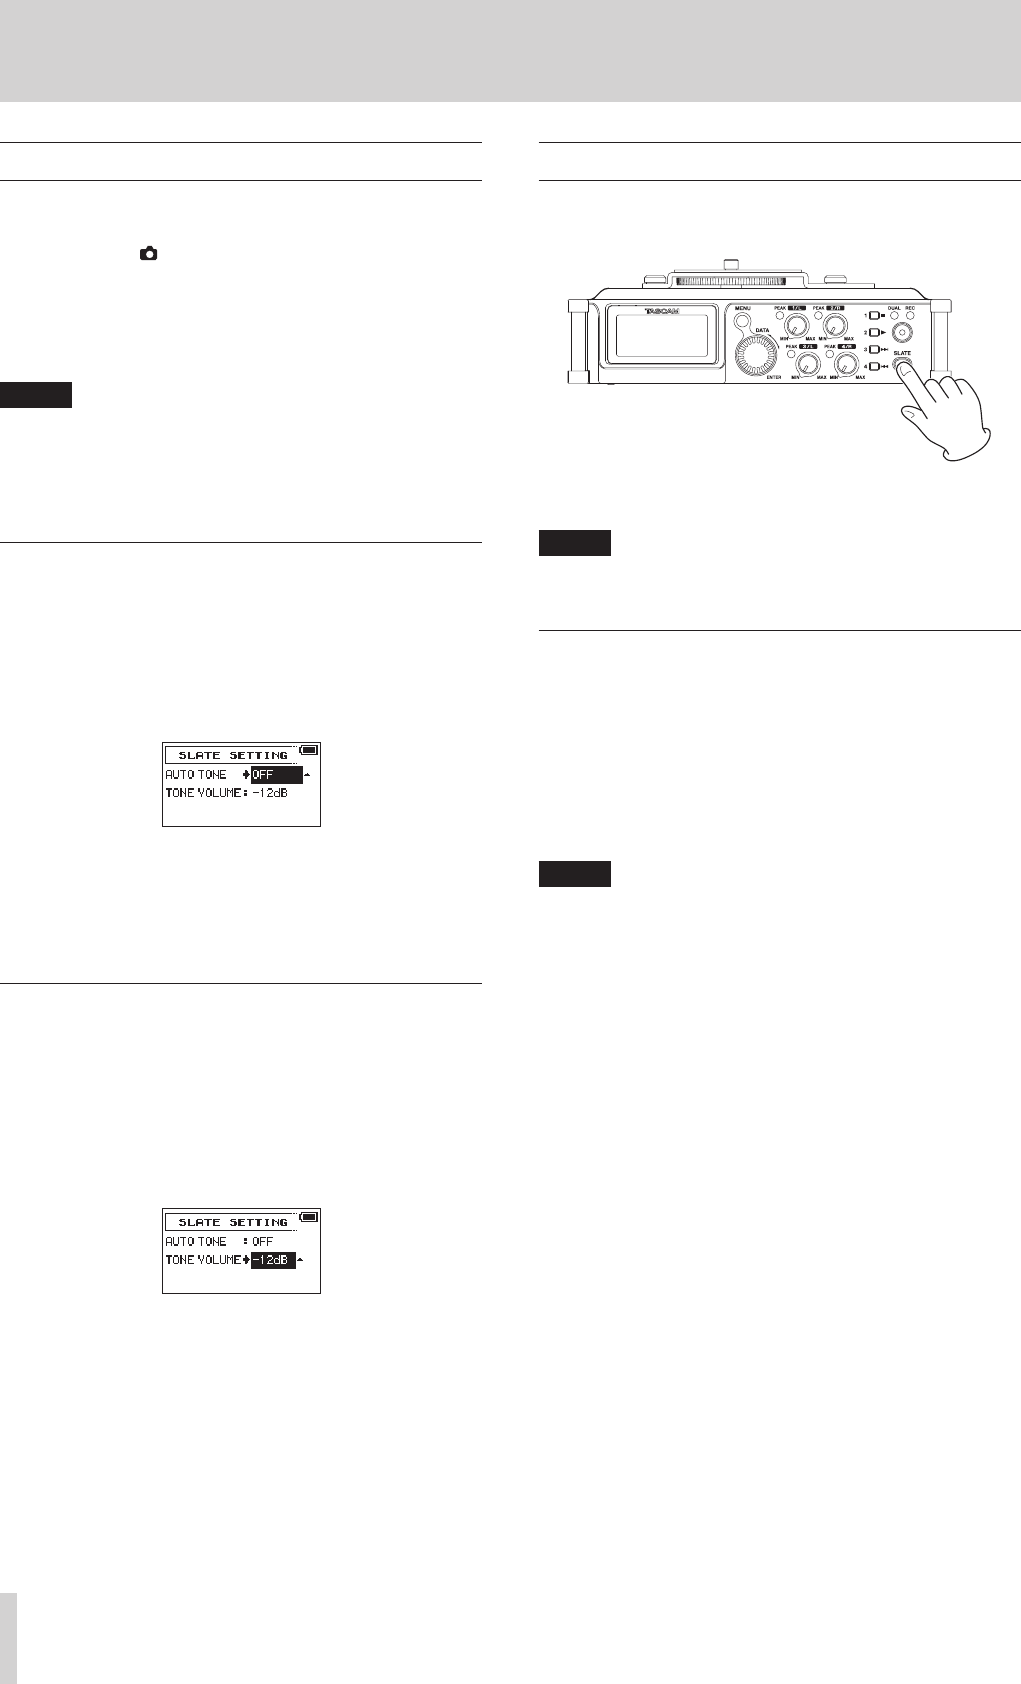
Recording slate tones
During recording, press the SLATE button to add a slate tone to
the recorded file at the point you want.
For details about how to connect a DSLR camera, see “Camera
connection and attachment” on page 16.
NOTE
The SLATE button must be pressed and held briefly to insert
a slate tone. This delay is to prevent accidental operation.
Moving to slate tone positions
You can move to slate tone positions in the currently selected
file when stopped or playing back.
You can use them like shortcuts to the beginning of songs, for
example.
1. Turn the DATA dial during playback or when stopped.
Turn the DATA dial right to move to the next slate tone
position and turn it left to move to the previous slate tone
position.
NOTE
If no slate tone has been inserted later in the current file,
turning the DATA dial right will move to the beginning of
the next file.
If no slate tone has been inserted earlier in the current file,
turning the DATA dial left will move to the beginning of the
current file.


Find Your Products By Category
Please Login
