
0
Owner's of the Tascam VCR DR-70D 4-Channel Audio Recorder for DSLR Cameras gave it a score of 0 out of 5. Here's how the scores stacked up:
TASCAM DR-70D
23
4 – Recording
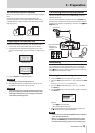
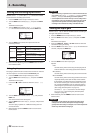
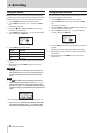
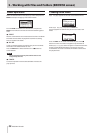
Compensating for mic distances
This unit can compensate for delays that result from differences
in distance between the built-in and external mics, as well as
between external mics.
1. Press the MENU button to open the
MENU
screen.
2. Turn the DATA dial to select
INPUT
, and press the DATA
dial.
The INPUT screen opens.
3. Press the 2/7, 3// or 4/. button to select the
channel to compensate for distance relative to CH1.
4. Turn the DATA dial to select
DELAY
for the selected
channel, and press the DATA dial.
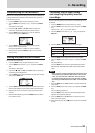
5. Turn the DATA dial to set this value according to the
distance of the connected mic.
Range: 0ms (default) to ±150ms (in 1ms increments)
6. When finished, press the MENU button to return to the
Home Screen.
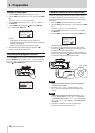
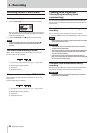
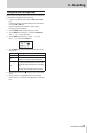
Setting the phase of each channel
You can set the input phase.
1. Press the MENU button to open the
MENU
screen.
2. Turn the DATA dial to select
INPUT
, and press the DATA
dial.
The INPUT screen opens.
3. Press the 1/8, 2/7, 3// or 4/. button to select the
channel for phase adjustment.
4. Turn the DATA dial to select PHASE for the selected channel,
and press the DATA dial.
5. Turn the DATA dial to set the phase of the selected channel.
Options: OFF (default, normal phase), ON (reversed phase)
6. Repeat steps 3 to 5 as necessary to set the phase for each
channel.
7. When finished adjusting, press the MENU button to return
to the Home Screen.
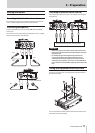
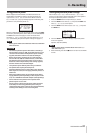
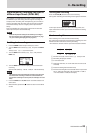
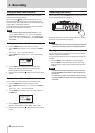
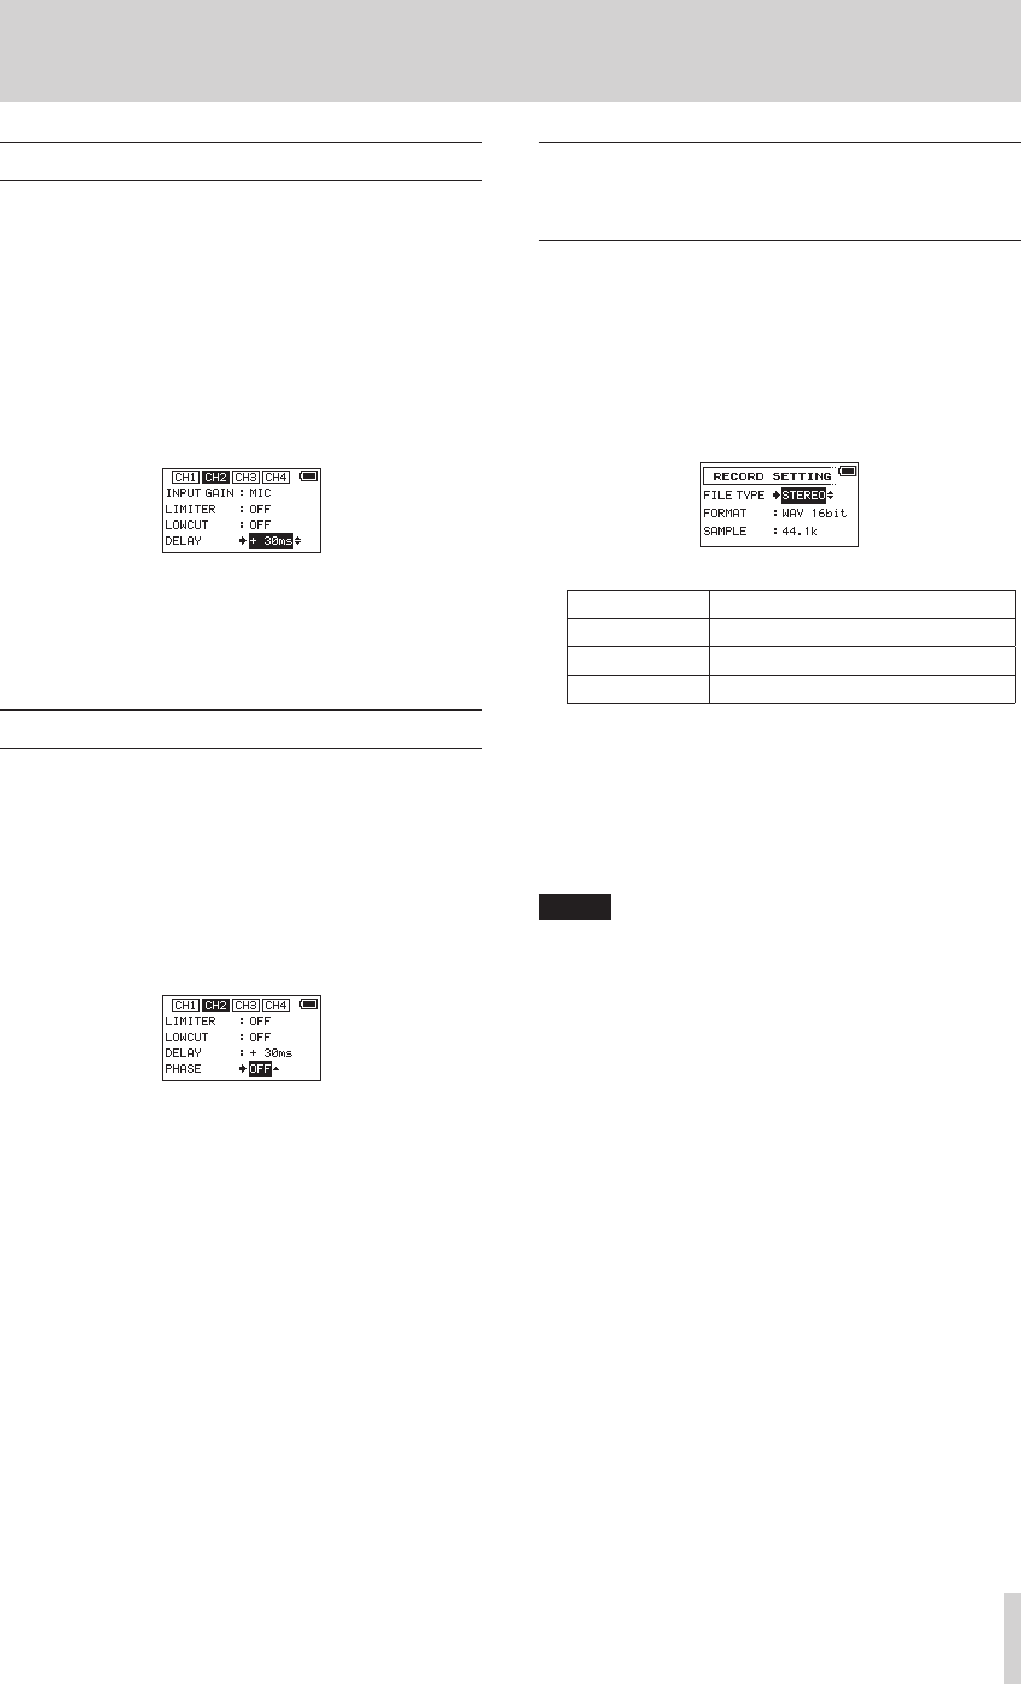
This shows the file type, format
and sampling frequency used for
recordings.
Set the audio file type that you want to record before you start
recording.
1. Press the MENU button to open the
MENU
screen.
2. Turn the DATA dial to select
RECORD
, and press the DATA
dial.
The
RECORD SETTING
screen opens.
3. Turn the DATA dial to select
FILE TYPE
, and press the
DATA dial.
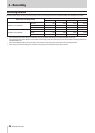
4. Turn the DATA dial to select the recording file type.
Options Meaning
MONO Record in mono
STEREO (default) Record in stereo
2MIX Record mixed signal in stereo
5. Press the DATA dial to enable selection of other items.
6. Turn the DATA dial to select
FORMAT
, and press the DATA
dial.
Set the file format.
Turn the DATA dial to select one of the following options.
Options: BWF 16bit, BWF 24bit, WAV 16bit (default), WAV
24bit
NOTE
BWF is a format created for broadcasting that has the same
sound quality as the standard WAV format. It also uses the
same “.wav” file extension as WAV files. In this document,
we distinguish these file types by using the “BWF” for WAV
files that support BWF features and “WAV” for all other WAV
files.
7. Press the DATA dial or 3// button to enable selection of
other items.
8. Turn the DATA dial to select
SAMPLE
, and press the DATA
dial.
Set the sampling frequency.
Turn the DATA dial to select one of the following options.
Options: 44.1k (default), 48k, 96k
9. Press the DATA dial or 4/. button to move the cursor
back to the setting item.
10. When finished, press the 1/8 button to return to the Home
Screen.


Find Your Products By Category
Please Login
