
0
Owner's of the Tascam VCR DR-70D 4-Channel Audio Recorder for DSLR Cameras gave it a score of 0 out of 5. Here's how the scores stacked up:
22
TASCAM DR-70D
4 – Recording
Using the limiter
When the limiter is on, the input gain will adjust automatically
in response to the input level, setting the recording level so that
distortion does not occur even when loud sounds are input.
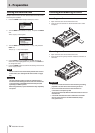
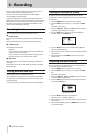
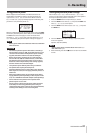
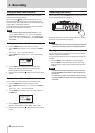
1. Press the MENU button to open the
MENU
screen.
2. Turn the DATA dial to select
INPUT
, and press the DATA
dial.
The INPUT screen opens.
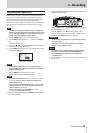
3. Press the 1/8, 2/7, 3// or 4/. button to select a
channel to use the limiter on.
4. Turn the DATA dial to select the
LIMITER
for the selected
channel, and press the DATA dial.
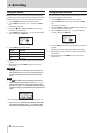
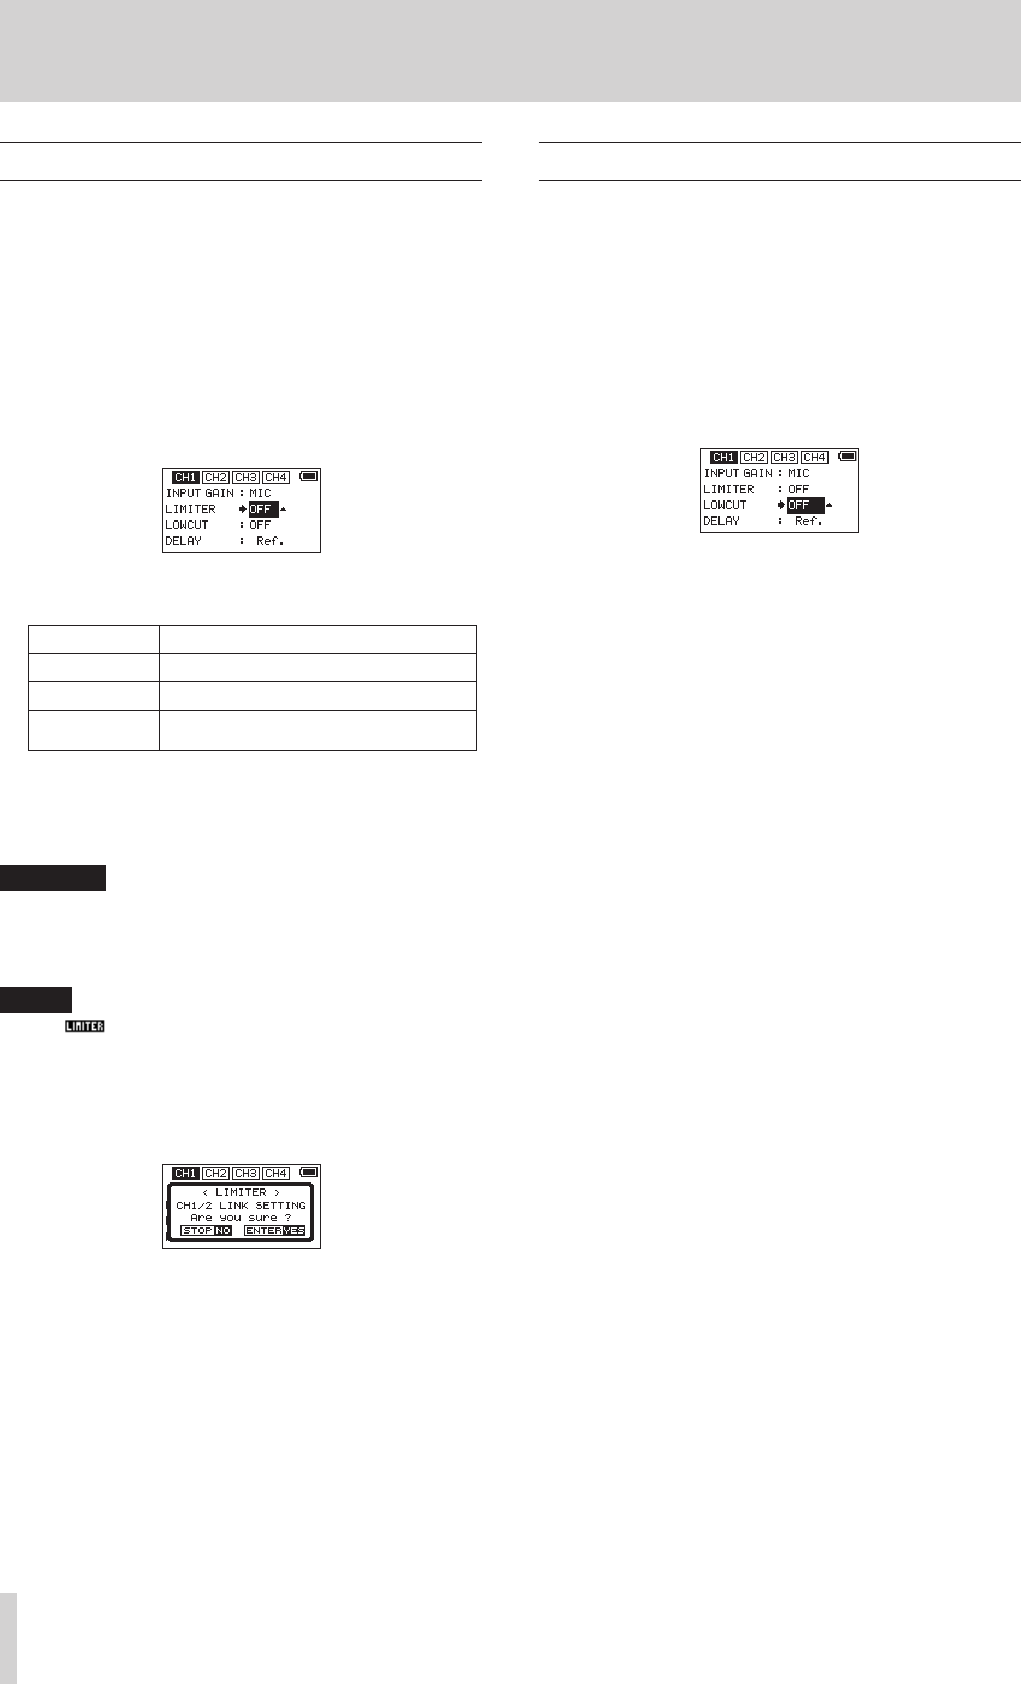
CH1 INPUT screen
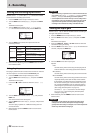
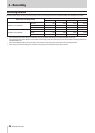
5. Turn the DATA dial to set the limiter.
Options Meaning
OFF (default) Limiter off
MONO Limiter on only for selected channel
LINK
Limiter on for both selected and linked
channels
6. Repeat steps 3 to 5 as necessary to set the limiter for each
channel.
7. When finished, press the MENU button to return to the
Home Screen.
CAUTION
Distortion might occur if the input sound is too loud even
when the limiter is on. In such a case, lower the input level
or increase the distance between the unit and the sound
source.
NOTE
•
The icon appears on the recording screen when the
limiter is on for any channel (when set to
MONO
or
LINK
).
•
When you switch the CH1 (CH2)/CH3 (CH4) limiter setting
between
MONO
and
LINK
, the setting of the other channel
will also be changed, so a confirmation pop-up message will
appear.
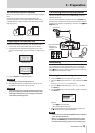
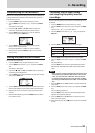
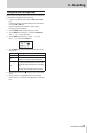
Pop-up message when changing between
MONO
and
LINK
•
When set to
MONO
, the limiter only affects the channel that
has excessive input. When set to
LINK
, the limiter affects
both channels in the pair when either has excessive input.
Using the low-cut filter
The low-cut filter can reduce noise from, for example, air-condi-
tioners and projectors as well as wind.
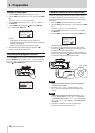
1. Press the MENU button to open the
MENU
screen.
2. Turn the DATA dial to select
INPUT
, and press the DATA
dial.
The INPUT screen opens.
3. Press the 1/8, 2/7, 3// or 4/. buttons to select the
channel to use the low-cut filter on.
4. Turn the DATA dial to select
LOW CUT
for the selected
channel, and press the DATA dial.
CH1 INPUT screen
5. Turn the DATA dial to select the cut off frequency of the low
cut filter.
Options: OFF (default), 40Hz, 80Hz, 120Hz, 180HZ, 220Hz
6. Repeat steps 3 to 5 as necessary to set the low-cut filter for
each channel.
7. When finished, press the MENU button to return to the
Home Screen.


Find Your Products By Category
Please Login
