
0
Owner's of the Tascam VCR DR-70D 4-Channel Audio Recorder for DSLR Cameras gave it a score of 0 out of 5. Here's how the scores stacked up:

TASCAM DR-70D
19
4 – Recording
Adjusting the input level
Before starting recording, the input level should be adjusted
to prevent the recorded sounds or input signals from being
distorted due to excessively loud input or from being quieter
than the noise level due to excessively low input levels.
In addition to manual adjustment, the unit has a limiter function
that you can use as desired. (See “Using the limiter” on page
22.)
TIP
In addition to adjusting the INPUT level, try changing the
distance and angle between the microphone and the sound
source. The angle and distance of the microphone can also
change the character of the recorded sound.
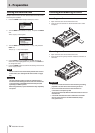
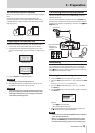
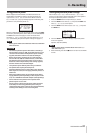
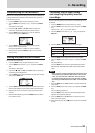
1. Press the MENU button to open the
MENU
screen.
2. Turn the DATA dial to select
BASIC
, and press the DATA
dial.
The BASIC screen opens.
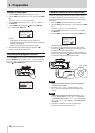
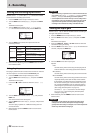
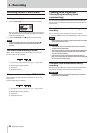
3. Press the 1/8, 2/7, 3// or 4/. button to select the
channel for input level adjustment.
4. Turn the DATA dial to select
GAIN
for the selected channel,
and press the DATA dial.
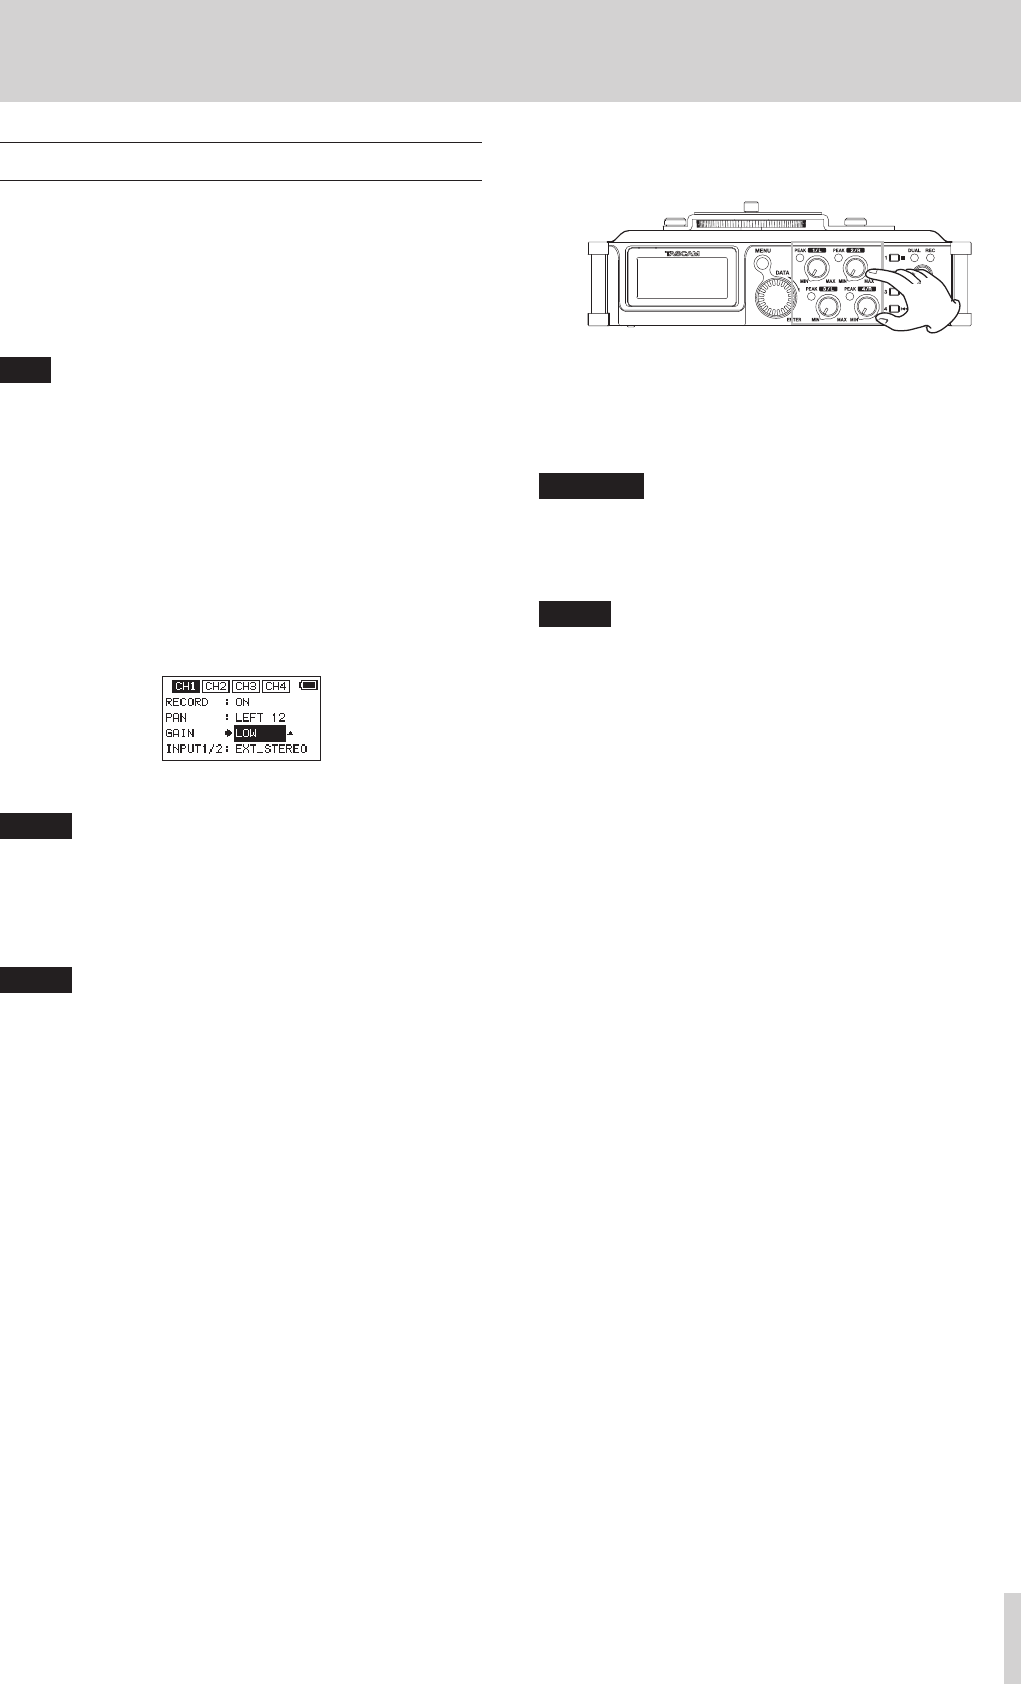
CH1 BASIC screen
NOTE
To change the channel being set, turn the data dial or
press the 1/8, 2/7, 3// or 4/. button to move to a
different channel screen.
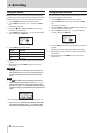
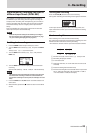
5. Turn the DATA dial to set the mic input gain.
Options: LOW (default), MID, HIGH, HI+PLUS
NOTE
The input gain is different for the
LOW
,
MID
,
HIGH
and
HI+PLUS
settings. Make a selection according to the
loudness of the input.
If you are not sure which setting to use, try
LOW
first. If the
input level is too low even after adjustment, return to the
INPUT screen and set it to
MID
.
If the level is still too low, set the GAIN to
HIGH
or
HI+PLUS
and then adjust the level.
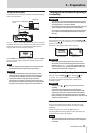
6. When finished adjusting, press the MENU button to return
to the Home Screen.
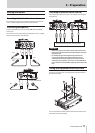
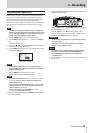
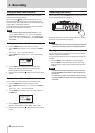
7. Use the 1/L, 2/R, 3/L and 4/R knobs on the back of the unit
to adjust the input levels.
If an input level is too high, the PEAK indicator to the left of
the knob will light red.
The level meters have a b mark as a guide at −16dB.
Set input level so that level changes occur near this mark
without causing PEAK indicators to light red.
CAUTION
These also light if distortion occurs in the analog circuitry
during mic input.
They will not light, however, if distortion occurs in the
analog circuitry during line input.
NOTE
To monitor the sound while adjusting the input levels or
recording, connect headphones to the PHONES jack.
Use the PHONES jack volume control to adjust the
monitoring level.
8. Repeat steps 3 to 6 as necessary to set the mic input gain for
each channel.


Find Your Products By Category
Please Login
