
0
Owner's of the Yamaha Music Mixer Yamaha Music Mixer gave it a score of 0 out of 5. Here's how the scores stacked up:


Recording/Playing back
MGP32X/MGP24X Owner’s Manual
34
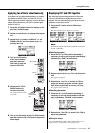
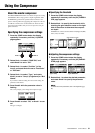
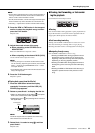
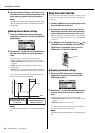
5. To adjust the recording level, proceed as follows.
q Press the USB button below the display
repeatedly if necessary until the (2/3) REC
LEVEL page appears.
w While playing back the sound source to be
recorded, rotate Knob 1 to adjust the recording
level while checking the level meter.
The recording level can be adjusted between -48dB and +24dB.
Each level of the REC OUT L/R will be displayed on the
level meter.
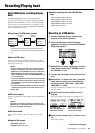
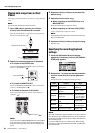
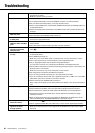
6. Press the REC button.
The REC indicator flashes briefly, indicating preparation for record-
ing. Once the indicator lights steadily, you can begin recording.
7. To stop recording, press the REC button again.
The screen prompts you to stop recording.
8.
Press Knob 2 to select “OK,” or Knob 1 to cancel.
The recording stops and an audio file is created. The audio
file will be saved in the “\MGP_REC” folder.
NOTE
AUTO REC function: If you press the FWD button while recording,
the current recording is completed and recording to a new file starts.
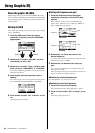
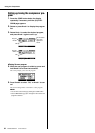
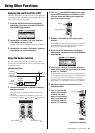
9. To audition the recorded content, proceed as
follows.
q Press the USB button below the display
repeatedly if necessary until the (1/3) PLAYER
page appears.
w Rotate or press Knob 1 to display the title list.
The recorded song is saved with the name “Untitled X” (X is
a number) in the “\MGP_REC” folder.
NOTE
• Information such as a title or artist cannot be edited on the unit.
You will need to import the file to a computer and edit it there.
• Since a calendar function is not installed in the unit, the date
of the file is fixed.
e Rotate Knob 1 to select the recorded song,
and then press Knob 1 to confirm it.
Playback starts.
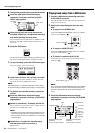
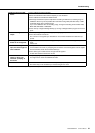
Playing back songs from a USB device
1. Connect a USB device containing audio files
to the USB IN connector.
The USB ACCESS indicator lights while the USB device is
being accessed by the unit.
2. Specify the output assignment for the play-
back.
To output to the STEREO bus
Set the TO STEREO/TO MONITOR switch in the USB IN
section to “TO STEREO” ( ).
To output to MONITOR OUT
Set the TO STEREO/TO MONITOR switch in the USB IN
section to “TO MONITOR” ( ).
To output to channels 29/30 {21/22}
Set the input select switch for the channel 29/30 {21/22} to
“USB IN” ( ).
NOTE
Do not use both the STEREO/MONITOR level control (USB IN
knob) and the level control for channels 29/30 {21/22} at the
same time. Raising both may cause unnatural flanging in the
sound.
3. Press the USB button below the display
repeatedly if necessary until the (1/3) PLAYER
page appears.
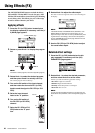
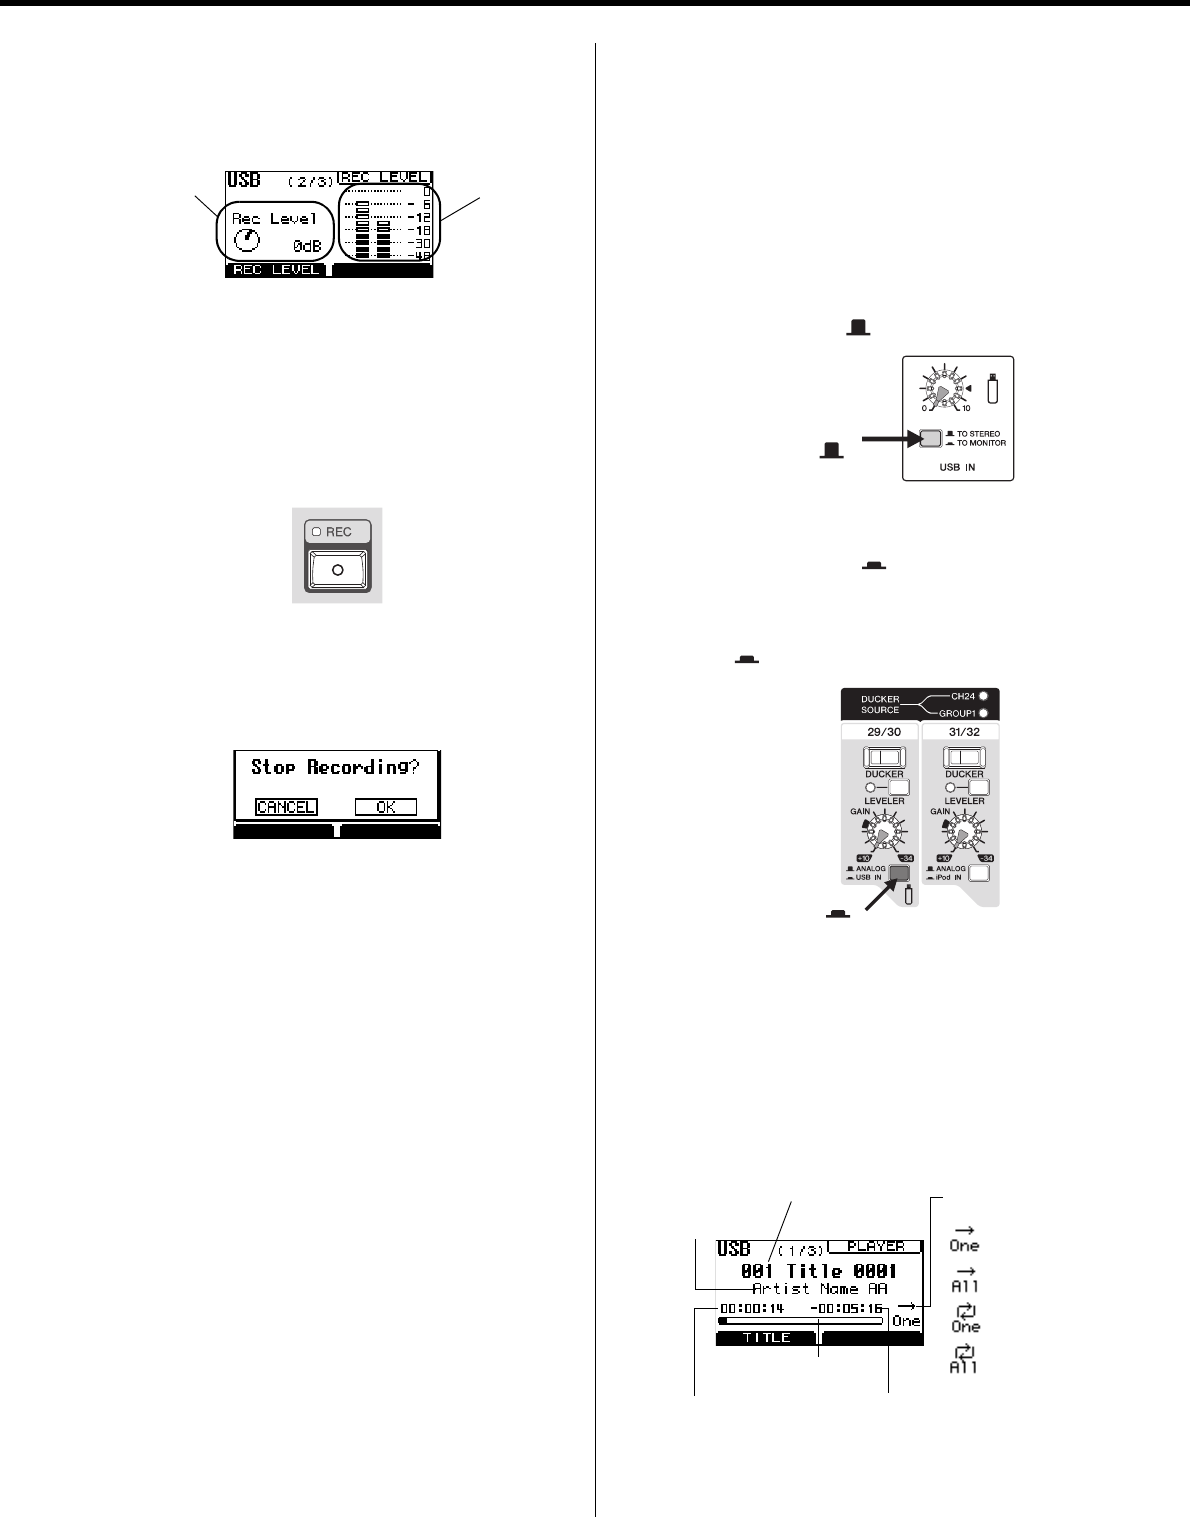
Level meter
Recording
level
Set to TO STEREO
()
Set to USB IN ( )
Progress bar
Elapsed recording/play-
back time
(hours, minutes, seconds)
Remaining recording/play-
back time
(hours, minutes, seconds)
Artist information
Title
Playback mode
One song
All songs
Repeat
one song
Repeat
all songs


Find Your Products By Category
Please Login
